

Planning a party is all about creating a special experience, and the final touch is often the party favor. You want to give your guests something memorable that ties the whole celebration together. But finding creative party favor ideas that feel personal, look professional, and don’t require a professional designer can feel like a challenge.
That’s where printable party favors come in. Using editable templates, you can create beautiful, coordinated favors right from your computer—no design skills needed. This guide will walk you through dozens of ideas and show you exactly how to print and assemble them for a flawless finish. You can create keepsakes that feel custom-made because, with a little help, they are.
Why Personalized Favors Make a Difference
A great party favor does more than just fill a goodie bag; it serves as a tangible memory of a happy occasion. While generic plastic toys or trinkets are often left behind or thrown away, a personalized item shows thoughtfulness and care. It’s the difference between a random object and a meaningful keepsake.
When your favors match your invitations, decorations, and theme, you create a cohesive and polished experience for your guests. This visual consistency makes your event feel thoughtfully planned and professionally executed. It’s essentially creating a unique brand for your celebration, where every detail feels connected and intentional.
Making a High-End Look Affordable
Custom-designed items can be expensive, but DIY party favors offer a budget-friendly alternative without sacrificing quality. The key is using well-designed, editable templates. These pre-made files allow you to simply add your own details—like a name, date, or photo—to a professional design.
By pairing these templates with the right paper and printing techniques, you can produce favors that look like they came from a high-end boutique. You save money on design fees and bulk orders while also saving time, since the creative groundwork is already done for you.
Creative DIY Party Favor Ideas for Any Occasion
The best party favor ideas are ones that are fun, fit your theme, and are easy to personalize. Here are some of the most popular and versatile printable favors you can make at home.
Printable Wrappers and Toppers
Wrapping a common treat in a custom design is one of the easiest ways to create a memorable favor. These work well for birthdays, baby showers, graduations, and more.
- Custom Chip Bags: These are always a hit, especially at kids’ parties. You can fill them with chips, popcorn, cookies, or small toys. For that authentic, store-bought feel, print them on Premium Glossy Paper to get a vibrant shine.
- Candy Bar Wrappers: A classic and elegant choice. Simply wrap a standard-sized chocolate bar with a personalized wrapper. They are perfect for weddings, anniversaries, and milestone birthdays.
- Rice Krispie Treat Wrappers: A fun and simple option for school events or themed parties. The rectangular shape is easy to wrap and looks great with a bold design.
- Mini Pringles Wrappers: The stackable shape of a Pringles can makes it a fun and unique favor. The wrapper and lid topper can both be customized to match your theme.
Personalized Labels for Drinks and Jars
Labels are a practical way to carry your theme through to every part of your celebration. They are easy to apply and instantly make simple items feel special.
- Juice Pouch and Water Bottle Labels: Perfect for summer parties, school events, or any celebration where guests will need a drink. Use a waterproof Glossy Sticker Paper to prevent the ink from running if the drinks are kept on ice.
- Favor Tags: These are incredibly versatile. You can attach a personalized tag to almost anything—jars of play-dough, bubble wands, small toys, or bags of homemade cookies. It’s a simple way to add a custom touch to a non-printable item.
Non-Candy Party Favor Ideas
If you’re looking for alternatives to sugary treats, printables can help you create engaging and useful favors that parents will appreciate.
- Mini Cereal Boxes: A fun idea for sleepovers or morning-after brunch celebrations. These can be filled with a single serving of cereal and are best printed on a sturdy paper like Premium Glossy Cardstock to hold their shape.
- Coloring or Activity Sheets: Create custom coloring pages or activity placemats that match your party’s theme. Pair them with a small box of crayons for a simple, screen-free activity that kids can take home.
- Personalized Bubble Wrappers: Bubbles are a classic favor for younger kids. Instead of handing out the plain bottles, wrap them in a custom label featuring the birthday child’s name and age.
Your DIY Workflow: From Canva to Finished Favor
Creating your own printable party favors is a straightforward process. Once you have an idea, you just need the right tools to bring it to life. The workflow generally involves three main steps: editing your design in Canva, printing it on the right paper, and assembling the final product.
Step 1: Personalizing Your Design in Canva
Canva is a free, user-friendly design tool that makes customization simple. When you use editable Canva party templates, the design is already created for you. Your job is just to add the personal details.
Here’s what you can typically change in a few clicks:
- Text: Update names, ages, dates, and thank-you messages.
- Colors: Adjust the colors of fonts and background elements to perfectly match your party’s color scheme.
- Photos: For some templates, you can upload a photo of the guest of honor for an extra-personal touch.
Before you move to printing, double-check that the template size matches the product you’re using (e.g., a 1 oz. chip bag or a 1.55 oz. Hershey’s bar). Most templates are designed for standard sizes, but it’s always good to confirm.
Step 2: Choosing the Right Paper and Printer Settings
The paper you choose has the biggest impact on the final quality of your DIY party favors. Using standard office paper will often result in dull colors and a flimsy feel. For professional results, you need to select paper designed for the job.
- For Wrappers (Chip Bags, Candy Bars): Use a glossy photo paper. It’s designed to make colors pop, and its smooth, shiny finish gives your favors a high-end look.
- For Labels (Water Bottles, Juice Pouches): A glossy, waterproof sticker paper is essential. It ensures your designs look great and stay put, even with condensation.
- For Tags and Boxes (Favor Tags, Cereal Boxes): A heavy cardstock (like 110 lb) is best. It’s sturdy enough to hold its shape and gives your tags a premium feel.
Before you print a full batch, always print a single test copy on regular paper. This lets you check for typos, confirm the colors look right, and ensure the sizing is correct without wasting your specialty paper. For more detailed guidance on paper selection, check out our complete guide to paper for party printables.
Step 3: Assembling Your Favors with Care
Assembly is the final step where your project comes together. Rushing this part can lead to crooked cuts or sloppy folds, so take your time and use the right tools.
Essential assembly tools include:
- A paper trimmer or scissors: A paper trimmer will give you cleaner, straighter lines than scissors alone.
- Double-sided tape or a glue gun: For most wrappers, double-sided tape provides a clean, secure seal. A low-temp glue gun can also work well.
- Zig-zag scissors (optional): For chip bags, using zig-zag scissors on the top and bottom edges mimics the look of a real chip bag.
- A paper crimper (optional): This tool adds ridges to the top and bottom of chip bags for an even more professional finish.
Set up a clean, organized workspace and assemble your favors in an assembly-line fashion: do all your cutting first, then all your folding, then all your sealing. This makes the process faster and more efficient. Need more ideas on tools? Here’s a list of must-have supplies for assembling party favors.

Next Steps: From a Single Party to a Creative Hobby
Once you’ve successfully created favors for one party, you’ll have the confidence and skills to do it again. You might find that you enjoy the creative process and start looking for more opportunities to design and create for family and friends.
Creating Coordinated Party Collections
To create a truly immersive party theme, think beyond just the favors. Many designers offer coordinated party bundles that include templates for invitations, banners, cupcake toppers, and thank-you cards. Using a full collection ensures every visual element of your party is perfectly matched, which saves you hours of design time and creates a stunning, cohesive look.
Turning Your Passion into a Business
For those who truly fall in love with creating party printables, this hobby can even grow into a small business. The skills you learn—from personalizing templates in Canva to understanding paper types—are the foundation for starting your own party favor business. By creating a portfolio of your work (using the beautiful favors you’ve already made), you can start offering your services to others.
If you’re interested in exploring this path, resources like the Party Printable Studio membership provide advanced templates, business tutorials, and a supportive community to help you grow. You can also learn more in our beginner’s guide on how to start a party favor business.
Frequently Asked Questions
What is the best paper for making DIY party favors at home?
It depends on the favor. For wrappers like chip bags and candy bars, a glossy photo paper gives the best color and shine. For labels on bottles or juice pouches, use waterproof glossy sticker paper. For items that need to be sturdy, like boxes or tags, a heavy glossy cardstock is the ideal choice.
Can I really get professional-looking results with my home printer?
Absolutely. The secret isn’t an expensive printer; it’s the combination of high-resolution templates, quality paper, and the right printer settings. Always choose a “photo” or “high quality” setting and select the correct paper type (e.g., “glossy photo paper”) in your printer’s menu for the most vibrant results.
How much time should I set aside for assembling party favors?
It’s always best to plan ahead and not leave assembly for the night before the party. The time needed will depend on the complexity and quantity of your favors. A good rule of thumb is to set aside a couple of hours a few days before the event. This gives you plenty of time to cut, fold, and fill your favors without feeling rushed.
Is it cheaper to make my own party favors or buy them?
Making your own party favors is often more cost-effective, especially when you want a personalized, high-end look. While there’s an initial investment in paper and ink, the cost per favor is typically much lower than buying pre-made custom items. Using editable templates saves you the cost of a graphic designer, giving you the best of both worlds.
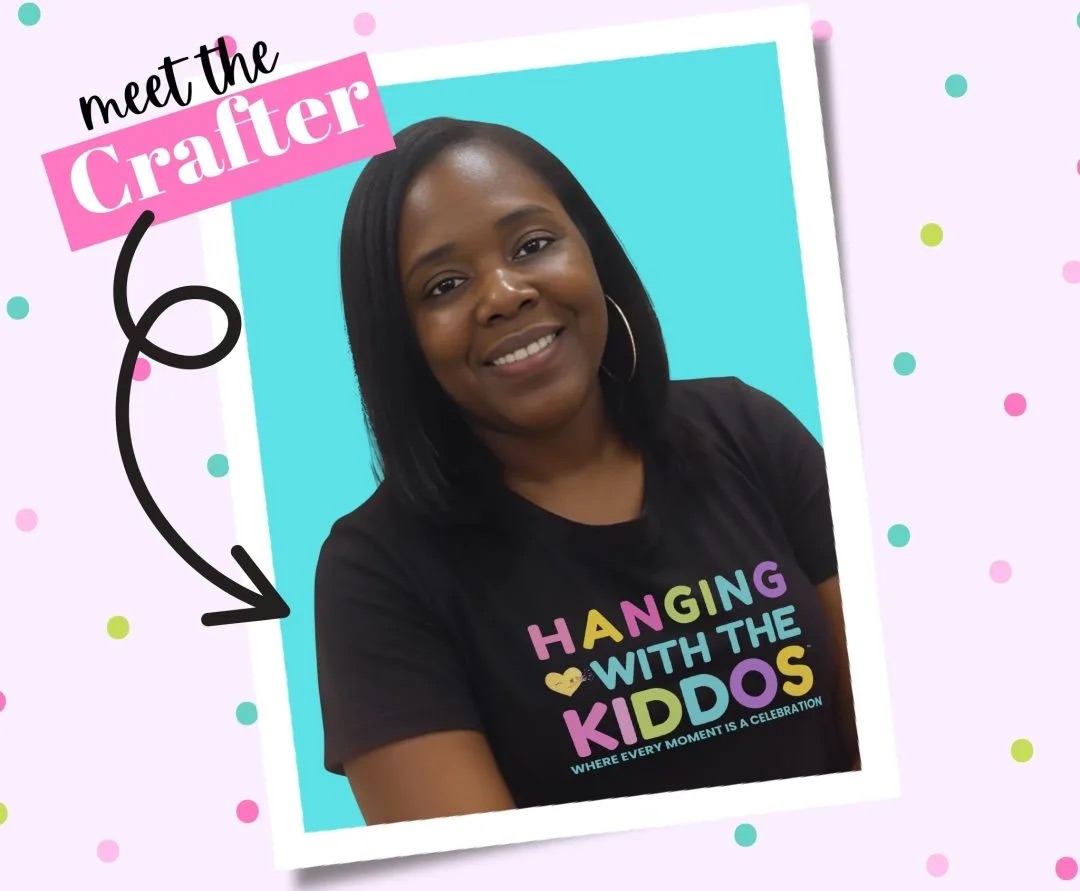
Article by
Latoya
Latoya is the founder of Hanging with the Kiddos, where she helps DIY creators design and print professional-quality party favors at home. Through step-by-step tutorials, editable Canva templates, and the Party & Confetti line of premium printing supplies, she shares practical tips that make creating personalized celebrations easier and more enjoyable. Her mission is simple: help families, creators, and small business owners Celebrate • Create • Grow.
Disclaimer
“This post may contain affiliate links, which means if you choose to make a purchase, I may earn a small commission from purchases made at no extra cost to you. Your support is invaluable in helping me continue providing free content on this site & I really appreciate It!”


