

Have you ever spent hours designing the perfect party decorations on your computer, only to have the finished product look… a little off? Maybe the colors aren’t as vibrant as they were on screen, the paper feels flimsy, or the edges aren’t quite straight. It’s a common frustration that can make your hard work feel less than rewarding.
The good news is that creating DIY party decorations that look polished and store-bought isn’t about having expensive equipment or being a professional graphic designer. The difference almost always comes down to a few key details you can control: design consistency, the right materials, correct printer settings, and careful assembly.
This guide will walk you through each of these steps, showing you exactly how to make party decorations look professional using tools and supplies you can manage right from home. We’ll skip the fluff and focus on the practical skills that give your printable party favors and decor a high-end finish, every time.
Start with a Cohesive Design
A professional-looking party starts long before you print anything. It begins with a cohesive design that ties everything together, from the invitations to the favor tags. When every element shares the same visual language—the same colors, fonts, and style—the entire event feels intentional, coordinated, and thoughtfully planned.
- Why it matters: Consistency is what makes a collection of individual items feel like a complete party theme. It creates a polished look that guests notice and appreciate.
- The beginner mistake: One of the most common mistakes is trying to design every single piece from scratch. This can be time-consuming and often leads to mismatched elements. Using a set of coordinated templates is the fastest way to get a consistent look.
- Thematic consistency: When your digital invitation matches the physical chip bags, banners, and thank-you cards, you create a seamless experience for your guests.
Choose a Cohesive Party Theme
Creating a consistent theme doesn’t have to be complicated. By setting a few simple rules at the beginning, you make all your future design choices easier.
- Limit your color palette. Choose two or three primary colors and one accent color. This prevents your decorations from looking visually cluttered and helps every element feel like it belongs. For example, a dinosaur theme might use green and brown as primary colors with a pop of orange as an accent.
- Stick to two fonts. Select one decorative or bold font for headings (like the “Happy Birthday” on a banner) and a simple, readable font for smaller text (like details on an invitation). Using more than two can make your designs look busy and unprofessional.
- Match digital to physical. Ensure the design you send out in a digital invitation or post on social media uses the exact same colors and fonts as the items you plan to print. This creates a strong, unified brand for your event.
Use Canva for Polished Results
Canva is an incredibly powerful tool for creating beautiful DIY party decorations, especially for beginners. However, how you use it determines the quality of your final product.
- Use high-quality graphics. Avoid pulling low-resolution images from a web search, as they will look blurry or pixelated when printed. Use Canva’s library of high-quality elements or purchase graphics from reputable sources.
- Pay attention to alignment and spacing. Use Canva’s built-in guides (the pink lines that appear as you move objects) to ensure your text and images are centered and evenly spaced. A well-aligned design looks clean and intentional.
- Start with a template. Using professionally designed DIY party favor templates is the simplest way to ensure your proportions, layout, and text placement are already optimized for a great result.
Choose the Right Paper and Printer Settings
The material you print on is just as important as the design itself. Using standard office paper for decorations is often the reason they look and feel homemade. The right paper adds durability, enhances color, and gives your favors a high-quality finish that can’t be ignored.
- Why standard paper falls short: Thin copy paper can absorb ink unevenly, making colors appear dull or washed out. It’s also prone to wrinkling and tearing, which can make your finished decorations look cheap.
- The impact of paper weight and finish: A heavier paper (like cardstock) or a specialty paper with a glossy finish instantly signals quality. The weight feels more substantial, and the finish can make colors pop.
- Optimizing your printer: You don’t need a commercial printer for great results. Most home inkjet printers can produce amazing quality when paired with the right paper and settings.
Select the Best Paper for Your Project
Different decorations require different types of paper. Choosing the right one for the job ensures your creations not only look good but also function properly.
- For a vibrant, store-bought shine: For items like chip bags, candy bar wrappers, and treat bag toppers, a high-quality glossy paper is an excellent choice. The shiny finish makes colors look rich and saturated, mimicking the look of professionally packaged goods. We recommend our Party & Confetti Premium Glossy Paper because it’s specifically designed for these types of vibrant party crafts.
- For sturdiness and structure: For invitations, banners, cupcake toppers, and favor tags, a heavyweight cardstock is essential. Cardstock prevents curling and bending, ensuring your decorations stay looking sharp. You can find both matte and glossy cardstock depending on the look you want.
- For labels and stickers: For water bottle labels or custom stickers for favor bags, use printable sticker paper. A glossy or vinyl sticker paper will be more resistant to moisture than a matte paper version.
For a complete breakdown of paper types, check out our guide on What Paper to Use for Party Printables.
Adjust Printer Settings for Vibrant Colors
Before you hit “Print,” a few small adjustments in your printer’s settings can dramatically improve your results. These options are usually found by clicking “Properties,” “Preferences,” or “Advanced Settings” in the print dialog box.
- Change the print quality. Most printers default to a “Standard” or “Normal” setting to save ink. Switch this to “Best” or “High” quality. This tells the printer to use more ink and apply it more precisely, resulting in richer colors and sharper details.
- Select the correct paper type. This is the most important setting. Tell your printer what kind of paper you’re using (e.g., “Glossy Photo Paper,” “Cardstock,” “Matte”). This adjusts how much ink is applied and how quickly it’s released to prevent smearing and ensure proper color absorption.
- Consider borderless printing. For designs that are meant to cover an entire surface, like a chip bag wrapper, use the “Borderless” setting if your printer has it. This prints the design all the way to the edge of the paper, eliminating the need to trim off thin white margins later.
Assemble Your Decorations with Care
A great design and perfect print job can still be let down by sloppy assembly. Taking your time with cutting, folding, and gluing is the final step in creating decorations that look truly professional. Precision is what separates a charming homemade craft from a polished, high-end favor.
- The “Pro Finish” Checklist: Aim for straight cuts, crisp folds, and invisible adhesives. These small details add up to a much cleaner final product.
- Essential tools: While you can get by with scissors and glue, a few affordable tools can make a huge difference in the quality and consistency of your work.
- Conceal raw edges: Whenever possible, fold or glue seams in a way that hides the cut edges of the paper for a seamless look.
Master a Clean Cut and Fold
How you cut and fold your paper can make or break the final look. Crooked lines and cracked folds are tell-tale signs of a rushed or amateur job.
- Use a paper trimmer for straight lines. For projects that require long, straight cuts (like banners or the edges of wrappers), a sliding paper trimmer or a craft knife with a ruler is far more accurate than scissors. This one tool will immediately improve the look of your DIY party decor.
- Score paper before folding. To get a sharp, professional-looking fold without cracking the ink or paper, “score” it first. This means creating a crease along the fold line. You can use a scoring tool, the dull edge of a butter knife, or even an empty ballpoint pen with a ruler to create the guide.
- Trim away any white edges first. If you didn’t use borderless printing, carefully trim off any unprinted white margins from your design before you begin folding or assembling.
For more tool recommendations, see our list of Essential Tools for Assembling Party Decorations.
Choose the Right Adhesives
The wrong adhesive can create bumps, wrinkles, or messy seams. Choosing a clean, strong adhesive is key for a polished finish.
- For paper-on-paper: Double-sided tape or a tape runner is almost always better than liquid glue for paper crafts. It provides a strong, invisible bond without the risk of wrinkling the paper or oozing out the sides.
- For structure and 3D items: A hot glue gun is great for attaching heavier elements, like securing a dowel to a cake topper or assembling a 3D decoration. Use it sparingly and apply it to areas that won’t be visible.
- For a convenient all-in-one solution: If you’re just getting started, a curated kit can be a great way to get the right supplies. The Party Favor Printing Starter Kit includes recommended paper and tools to help you get started with clean assembly.

Style Your Decorations for a Polished Look
Once your decorations are printed and assembled, the final step is presenting them beautifully. How you arrange your decor, especially on a central spot like a dessert table, can elevate the entire look of your party.
To achieve a truly high-end aesthetic, you might consider pairing your custom printables with sophisticated table accessories from Table Terrain to create a cohesive and luxurious atmosphere.
- Create focal points. Instead of scattering decorations evenly around the room, group them together in key areas like the entrance, the food table, or a photo booth area.
- Vary heights. A flat table can look boring. Using stands and risers of different heights adds dimension and visual interest, making the display look more dynamic and professional.
- Lighting matters. Good lighting can make your decorations shine. Make sure your main display area is well-lit, or consider adding small, battery-operated lights to highlight your work.
Create an Eye-Catching Dessert Table
The dessert or favor table is often the centerpiece of a party. A few simple styling principles can make it look like it was set up by a pro.
- Start from the center. Place your largest or most important item, like the birthday cake or a backdrop, in the middle of the table. Arrange other items outward from there to create a balanced look.
- Use symmetry (or planned asymmetry). You can create a classic, formal look by placing matching items on either side of your centerpiece. For a more modern feel, try grouping items in clusters of three or five on one side, balanced by a single larger item on the other.
- Don’t overcrowd the table. White space is your friend! Leaving a little room between items helps each piece stand out and prevents the display from looking cluttered. It’s better to have fewer, well-placed items than a table full of clutter.
The Final Quality Check
Before the guests arrive, take a moment to do one last check of your work. This is your chance to fix any small imperfections that could detract from the overall professional look.
- Step back. Take a few steps back from your main display table. Does the theme look clear and cohesive? Or does it feel busy? Remove one or two items if it feels cluttered.
- Check for visibility. Are favor tags and food labels easy to read? Make sure guests can see and appreciate all the little details you worked so hard on.
- Hide the mechanics. Do a quick scan for any visible tape, glue strings, or messy edges. Tucking these out of sight gives everything a clean, boutique-style finish.
Frequently Asked Questions (FAQs)
Why do my printed party favors look different from how they did on the screen?
Screens and printers use different color models (RGB for screens, CMYK for printers), which can cause slight color shifts. The type of paper you use and your printer settings also heavily influence the final color. Using the “Best” quality setting and choosing the correct paper type in your printer dialogue box will give you the most accurate results.
What is the best paper to use for professional-looking chip bags?
For chip bags and other treat wrappers, a glossy photo paper around 30-40 lb. is ideal. The weight is sturdy enough to hold its shape, and the glossy finish provides a vibrant, store-bought look that makes colors pop.
How do I prevent my glossy paper from smearing after printing?
Smearing on glossy paper usually happens for two reasons: incorrect printer settings or not enough drying time. Make sure you’ve selected “Glossy Photo Paper” as your media type. This tells the printer to use the right kind of ink and apply it correctly. After printing, let the sheets air dry for several minutes before handling them.
Do I need a special printer to make professional party decorations at home?
No, you don’t need a commercial printer. Most modern home inkjet printers are capable of producing excellent, high-quality results, especially when paired with premium paper and the correct print settings.
How can I make my DIY decorations look cohesive without being a designer?
The easiest way is to use a coordinated set of party templates. This ensures that your invitations, banners, favor tags, and other items all share the same fonts, colors, and design elements from the start, giving you a professional, unified look with minimal effort.
What are the most common mistakes that make DIY decor look amateur?
The most common mistakes are using flimsy paper, having crooked cuts or messy folds, visible glue or tape, and using inconsistent designs or low-resolution graphics that print poorly. Focusing on these four areas—paper, cutting, adhesives, and design—will instantly improve the quality of your work.
From DIY to Done Beautifully
Creating beautiful, professional-looking party decor at home is entirely within your reach. It’s not about perfection; it’s about paying attention to the small details that make a big impact. By starting with a cohesive design, choosing the right materials, and assembling your pieces with care, you can craft a celebration that looks as amazing as it feels.
You have the tools and knowledge to move from idea to execution with confidence. Now you’re ready to **Celebrate** your special moments beautifully, **Create** confidently, and **Grow** your skills for every party to come.
Article by
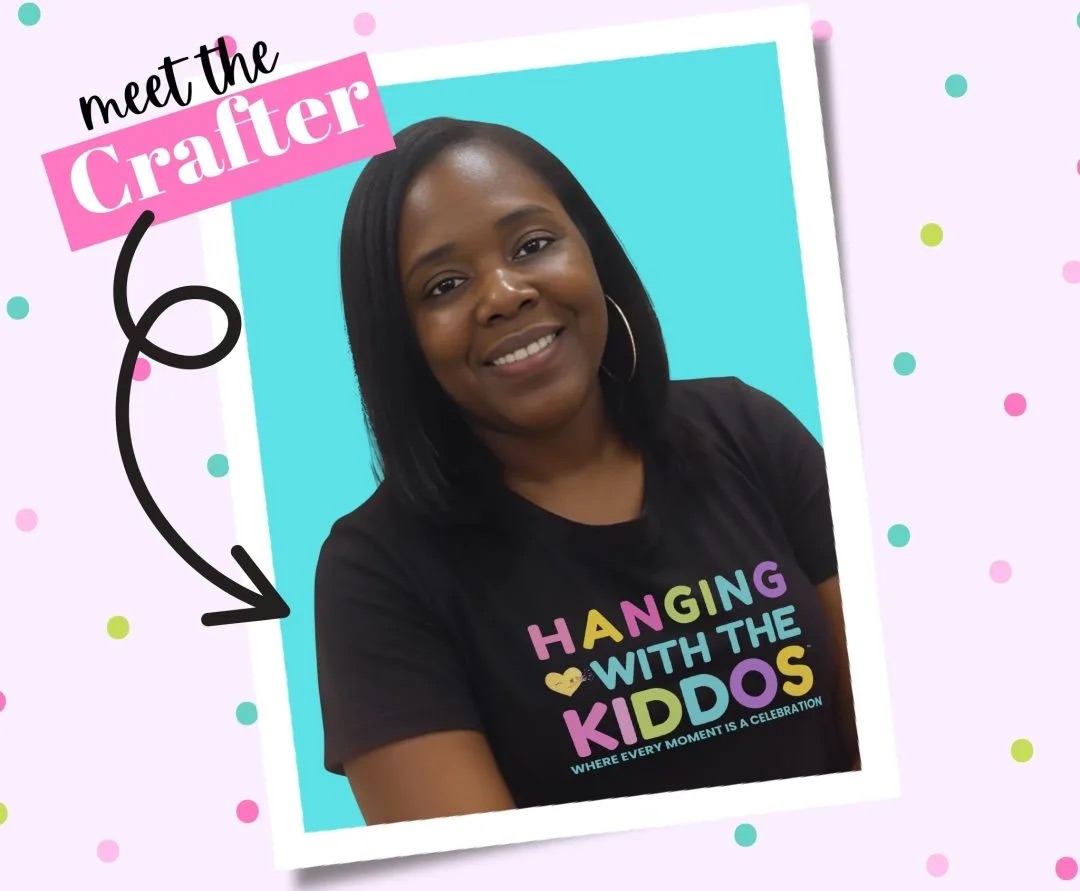
Latoya
Latoya is the founder of Hanging with the Kiddos, where she helps DIY creators design and print professional-quality party favors at home. Through step-by-step tutorials, editable Canva templates, and the Party & Confetti line of premium printing supplies, she shares practical tips that make creating personalized celebrations easier and more enjoyable. Her mission is simple: help families, creators, and small business owners Celebrate • Create • Grow.
Disclaimer
“This post may contain affiliate links, which means if you choose to make a purchase, I may earn a small commission from purchases made at no extra cost to you. Your support is invaluable in helping me continue providing free content on this site & I really appreciate It!”


