

A Beginner’s Guide to Making Your Own Party Favors
Thinking about making your own party favors? It’s a great way to add a personal touch to a celebration and create something truly special for your guests. Instead of buying generic items, you can design favors that perfectly match your theme, from custom chip bags and candy bar wrappers to personalized water bottle labels. The best part is, you don’t need to be a graphic designer to do it.
This guide will walk you through the entire process, step-by-step. We’ll cover everything from choosing your project and personalizing a design in Canva to printing and assembling your favors at home. Here’s how to get started.
Step 1: Choose Your Party Favor Type
The first step is deciding what kind of printable party favors you want to make. The possibilities are wide, but it helps to start with a few popular and achievable options. Think about your party theme, the age of your guests, and what treats you’d like to give out. It’s also a good time to consider your budget; using a tool like Tallyfold can help you track your spending on supplies.
Here are a few common DIY party favors to get you started:
- Chip Bags: These are a huge hit at kids’ parties. You can fill them with chips, cookies, popcorn, or small toys.
- Candy Bar Wrappers: A simple way to customize a classic treat. They fit standard-sized chocolate bars and are easy to assemble.
- Water Bottle or Juice Pouch Labels: These instantly tie your drinks into the party theme. They’re quick to print and apply.
- Mini Cereal Boxes: A fun and unique favor, perfect for morning parties or sleepovers.
- Favor Tags: Versatile tags you can attach to any gift bag or box with a ribbon.
Start with one or two types of favors to keep the project manageable. Once you get the hang of the process, you can easily expand to create a full suite of coordinated items.
Step 2: Choose or Create Your Design in Canva
Once you know what you’re making, it’s time to work on the design. Canva is a free, user-friendly design tool that’s perfect for this kind of project. You have two main options: using a pre-made template or designing from scratch.
For most people, especially beginners, starting with a template is the fastest way to get a great-looking result. Editable Canva party templates are designed with the correct dimensions and layout, so you can focus on the fun part: personalizing them.
When choosing a template, look for one that matches your party’s theme and color scheme. A good design is the foundation for favors that tie the whole event together. Once you’ve settled on your favors and their design, you can start thinking about how they fit with the rest of your decor. If you need help organizing the bigger picture, our birthday party planning guide walks you through everything from choosing a theme to creating a day-of timeline.
Step 3: Personalize Your Design in Canva
This is where you make the design your own. Canva makes it easy to edit templates, even if you have no prior design experience. Focus on a few key areas to customize your favors.
Customize Key Details
Start by changing the text to fit your event. Most templates have placeholder text you can click on and edit. Be sure to update:
- Names: Add the name of the birthday child or guest of honor.
- Ages: Update the age for birthday celebrations.
- Dates: Include the party date.
- Thank-You Message: Personalize the thank-you note to your guests.
You can also change the fonts and colors to better match your theme. Select a text box, and a toolbar will appear at the top of the editor where you can browse fonts and select new colors.
Add Photos and Graphics
Adding a photo of the birthday child is a wonderful way to personalize favors. In Canva, you can upload your own photos and drag them into place. Many templates have designated photo frames that make this simple.
You can also add or replace graphics. Use Canva’s “Elements” library to search for icons, illustrations, or shapes that fit your theme—like dinosaurs, stars, or balloons.
Final Checks Before You Print
Before you finalize your design, take a moment to proofread everything carefully. Check for spelling errors and make sure all the information is correct. It’s also a good idea to confirm the design is sized correctly for your physical item (e.g., the candy bar you bought). When you’re ready, download your finished design as a “PDF Print” file for the best printing results.
Step 4: Print Your Party Favors
With your design ready, it’s time to print. Printing at home gives you full control over the final product, but the paper and settings you choose will make a big difference.
Choosing the Right Paper
Standard printer paper won’t give you a sturdy or vibrant result. For party favors, you’ll want something with a bit more weight and a nice finish.
- For items like chip bags and candy wrappers, Premium Glossy Paper is an excellent choice. It’s flexible enough to wrap and fold, and its glossy surface makes colors pop.
- For favor tags, small boxes, or cake toppers that need to be more rigid, Glossy Cardstock is a better option.
- For water bottle or juice pouch labels, use a waterproof sticker paper to prevent the ink from running if the drinks get wet.
Printer Settings for Better Results
Every printer is different, so you may need to experiment with a test print first. However, here are some common settings to look for in your printer’s dialog box to improve your output:
- Paper Type: Change the setting from “Plain Paper” to “Glossy Photo Paper” or “Premium Glossy.” This tells the printer to use more ink and apply it correctly for a glossy surface.
- Print Quality: Select “High” or “Best.” This will use more ink but produces a much sharper, more vibrant image.
- Borderless Printing: If your design goes to the edge of the page, choose the “borderless” option to avoid a white margin around your print.
A Note on Ink and Drying Time
When printing on glossy paper, the ink can sometimes feel slightly tacky right after it comes out of the printer. To avoid smudges, let your printed sheets sit for a few minutes to dry completely before you start cutting or assembling them.
Step 5: Cut and Prepare Your Prints
Once your designs are printed and dry, it’s time to cut them out. Precision here is key to a clean, finished look.
While you can use scissors, a paper trimmer is highly recommended for straight edges on items like chip bags and wrappers. For more intricate shapes, a craft knife and a self-healing mat can be helpful. If you’re making favors with fold lines, like a mini cereal box, using a scoring tool or the back of a butter knife to create a crease will give you a much crisper fold.
Take your time with this step. Working on a clean, flat surface will help you get the best results.

Step 6: Assemble Your DIY Party Favors
Now for the fun part: putting it all together! The assembly process will vary depending on what you’re making. It’s helpful to set up a small assembly line, especially if you’re making a large batch.
Assembling Custom Chip Bags
- Lay the printed design face down.
- Apply double-sided tape or a hot glue gun along one of the long edges and the bottom edge.
- Fold the paper into a cylinder, overlapping the long edges to seal the back.
- Seal the bottom edge.
- Fill the bag with your treats (be sure they are already in their original packaging to keep them fresh and avoid grease stains on the paper).
- Seal the top edge. For an authentic look, you can use a paper crimper on the top and bottom seals.
Applying Wrappers and Labels
For candy bars, start by removing the original wrapper or wrapping your design directly over it. Secure the new wrapper with a piece of double-sided tape. For water bottles, remove the original label first for a cleaner application. Peel the backing off your sticker paper and carefully smooth the new label onto the bottle, starting from the middle and working your way out to avoid bubbles.
Step 7: Add the Finishing Touches
A few small details can make your homemade party favors look even more polished. Consider adding a ribbon to your favor tags or tying a bow around your wrapped candy bars. Arrange the finished favors in a decorative basket or on a platter at your party for guests to grab as they leave.
Making your own party favors is a rewarding project that adds a memorable, personal element to any celebration. With the right tools and a little creativity, you can create something your guests will love. Ready to get started? Shop DIY party supplies and templates to bring your ideas to life.
Frequently Asked Questions
- What is the best paper to use for printable party favors?
- It depends on the favor. For chip bags and candy wrappers, a flexible glossy paper works best. For favor tags or toppers that need to be sturdy, use glossy cardstock. For drink labels, waterproof sticker paper is essential to prevent smearing.
- How do I choose the right Canva template for my party theme?
- Start by searching for your theme (e.g., “dinosaur party,” “mermaid birthday”) in the template library. Look for a design that uses colors and fonts that match your other decorations. A good template should be easy to read and have space for all your personalized information.
- How far in advance should I make my DIY party favors?
- It’s a good idea to print and assemble your favors about one to two weeks before the party. This gives you plenty of time to fix any mistakes without feeling rushed. Store the finished favors in a cool, dry place to keep them looking fresh.
- How can I prevent ink smearing on my glossy party printables?
- First, make sure you’re using the correct printer settings for glossy paper. Second, allow the prints to dry completely for at least a few minutes before handling them. Using high-quality glossy paper designed for inkjet printers also helps the ink set properly.
- What are the most essential tools for assembling DIY party favors?
- The basics include a printer, good-quality paper, and scissors. To make assembly easier and more professional, consider a paper trimmer for straight cuts, double-sided tape or a hot glue gun for sealing, and a paper crimper for that classic chip-bag finish.
Article by
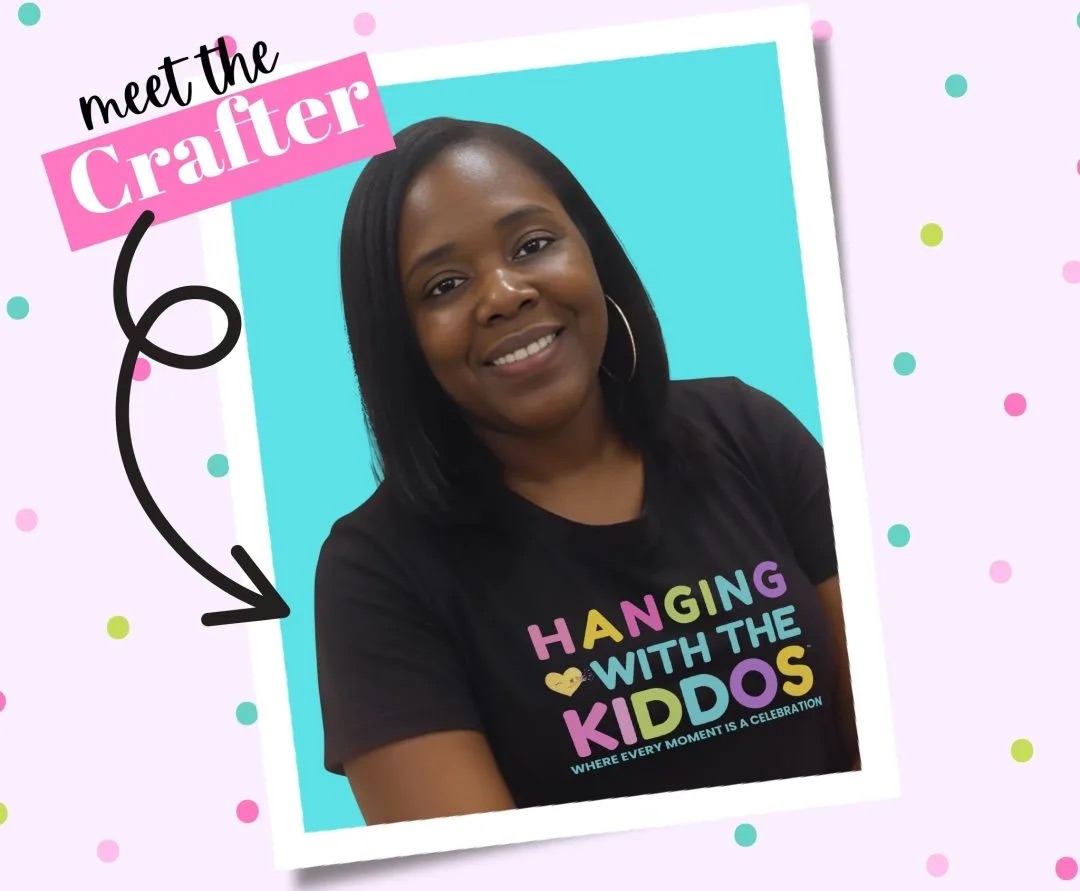
Latoya
Latoya is the founder of Hanging with the Kiddos, where she helps DIY creators design and print professional-quality party favors at home. Through step-by-step tutorials, editable Canva templates, and the Party & Confetti line of premium printing supplies, she shares practical tips that make creating personalized celebrations easier and more enjoyable. Her mission is simple: help families, creators, and small business owners Celebrate • Create • Grow.
Disclaimer
“This post may contain affiliate links, which means if you choose to make a purchase, I may earn a small commission from purchases made at no extra cost to you. Your support is invaluable in helping me continue providing free content on this site & I really appreciate It!”


