

Ever dreamed of throwing a party that looks like it jumped right off a Pinterest board, but without the custom-designer price tag? You’re in the right place. For years, I’ve helped thousands of busy parents and creative entrepreneurs transform their celebration ideas into stunning reality. The secret isn’t being a graphic design wizard—it’s mastering the art of editable party templates.
This guide is your complete roadmap. We’ll walk you through our proven “Celebrate, Create, Grow” framework, showing you how to not only plan a beautiful event but also master the craft of making professional-quality favors. And for those with a business spark, we’ll even show you how to turn that passion into profit. Let’s get this party started!
What are Editable Party Templates and Why Use Them?
At its core, an editable party template is a pre-designed digital file that lets you easily customize text, colors, and even photos to create a perfectly coordinated party theme. Think of it as your creative shortcut to a high-end, cohesive look for everything from invitations to intricate party favors.
This is the heart of our first pillar: Celebrate. It’s all about making the party planning process joyful and stress-free. Instead of spending hours designing from scratch or paying a fortune for custom work, you start with a professional foundation and simply make it your own. This approach is not only cost-effective but incredibly versatile—a single party bundle can be adapted for different children or events for years to come.
Invitations vs. Full Party Decor Bundles
An invitation is what gets guests excited, but a full party bundle is what creates an immersive, unforgettable experience. While competitors like Canva offer plenty of free invitation templates, they often stop there. A truly memorable celebration is in the details.
A professional party bundle includes everything you need for that “wow” factor:
- Custom Chip Bags
- Water Bottle Labels and Capri Sun Wrappers
- Candy Bar Wrappers
- Popcorn Boxes and Cereal Boxes
- Cake Toppers and Favor Tags
Using a bundle ensures every element, from the first welcome to the final thank-you favor, shares the same beautiful, consistent design, making your event look polished and thoughtfully planned.
To see how this level of cohesion is achieved at a professional scale, you can discover Christiaan Peverelle Events Company and explore their expertise in event management and bespoke floral decor.
The Canva Advantage for DIY Creators
So, how do you edit these magical files? In 2026, the undisputed champion for user-friendly design is Canva. It’s the platform we build our templates on, and for good reason. You don’t need to install any complicated software, and you can make edits from your computer or even your phone while waiting in the school pickup line.
Its drag-and-drop interface makes adding photos a breeze, and changing colors or fonts is as simple as a few clicks. This accessibility empowers you to take control of your creative vision without the steep learning curve of professional programs like Adobe.
How to Customize and Print Your Templates Like a Pro
Here’s where we move from celebrating to our second pillar: Create. An amazing digital design is only half the battle. Bringing it to life with vibrant colors and a flawless finish is what separates a “cute DIY” from a professional-quality creation. Let’s walk through the steps to get it right every time.
- Access and Save a Master Copy: The moment you get your template link, your first move should always be to make a copy. This protects the original file, so you have a clean slate to return to for future parties or if you make a mistake.
- Personalize Your Vision: This is the fun part! Swap out the placeholder text with your event details. Adjust fonts and colors to match your theme perfectly. Have a specific photo you want to feature? Just drag and drop it into place.
- Choose the Right Paper: This is the single most important step for avoiding a flimsy, “homemade” look. The paper you choose will make or break your final product.
- Dial in Your Printer Settings: Before you hit “Print,” navigate to your printer’s settings. Look for an option called “Print Quality” or “Media Type.” For the most vibrant, saturated colors, choose “Best” or “High” quality and select a “Photo” or “Glossy Paper” setting.
The Secret Ingredient: Choosing the Right Paper
I cannot stress this enough: do not use standard office paper for your party favors. It’s too thin, the ink looks dull, and it simply doesn’t hold up. After years of testing, I’ve found the perfect paper for nearly every party project.
- For Chip Bags, Candy Wrappers, and Favor Boxes: You need a paper that is sturdy yet flexible, with a beautiful sheen. Our DIY Party Glossy Paper is specifically designed for this. It gives you that store-bought, factory-finish look and makes colors pop.
- For Cake Toppers and Invitations: When you need more rigidity, a high-quality cardstock is essential. Glossy Cardstock provides a sturdy base for toppers and gives invitations a premium feel.
Pro Printing Tips to Avoid Common Mistakes
Printing can feel intimidating, but a few expert tips can save you from common frustrations like smudging or incorrect sizing.
- Print at 100% Scale: Always ensure your printer is set to print at “Actual Size” or “100%,” not “Fit to Page.” Templates are designed with precise dimensions for assembly, and scaling them will cause folding and wrapping issues.
- Manage Your Ink: Let freshly printed sheets dry for a minute or two before handling them to prevent smudging, especially with heavily saturated colors. If colors look off, run a “nozzle check” or “printhead cleaning” through your printer’s maintenance software.
- Understand “Full Bleed”: Full bleed printing simply means printing designs that extend to the very edge of the paper, leaving no white border. This is crucial for professional-looking items like water bottle labels and chip bags, ensuring a continuous, seamless design after trimming.
Beyond Invitations: Creating 3D Party Favors
This is where your creative skills truly shine. Moving from a flat printout to a fully assembled 3D favor is what wows guests and makes your party unforgettable. This is the core of the Create pillar—transforming a digital file into a tangible, impressive piece of decor.
To get started, you’ll need a few basic assembly tools:
- Sharp scissors or a paper trimmer
- Double-sided tape or a hot glue gun
- A paper crimper (for that classic chip bag finish)
The Art of the Custom Chip Bag
Custom chip bags are consistently the most requested and beloved party favor, and for good reason! They’re a fantastic way to tie your theme together and give guests a personalized treat. Assembling them is easier than you think.
Assembly Walkthrough:
- Lay your printed design face down. Apply double-sided tape along the right and bottom edges.
- Fold the left side over to meet the right, creating a tube shape, and press to seal the back seam.
- Seal the bottom edge. Now you can fill the bag with chips (in their original packaging), candy, or small toys.
- Seal the top edge, and for that pro touch, use a paper crimper on the top and bottom seals.
Pro Tip: For an all-in-one solution, our Party Favor Printing Starter Kit includes our signature glossy paper and other essentials to get you started.
Labeling for Success: Water Bottles and Juice Pouches
For drinks, you need a solution that can handle a little condensation without the ink running or the paper peeling. The answer is waterproof sticker paper.
Our Glossy Sticker Paper is perfect for wrapping water bottles and applying to Capri Sun or other juice pouches. To apply without bubbles, start by sticking the center of the label first, then smooth it outwards to each side. This simple technique ensures a perfect, bubble-free application every time.

From Hobbyist to Entrepreneur: Growing Your Party Business
What happens when your friends start asking, “Can you make those for my party?” That’s the moment your passion can become a business. This brings us to our final pillar: Grow. We are passionate about helping creative people like you monetize their skills and build thriving businesses.
Whether you want to sell physical, fully assembled party favors or design your own digital templates, platforms like Shopify or dedicated online storefronts are the go-to choices for reaching customers in 2026. To ensure your new venture is on solid ground, Do It Yourself Legal Docs provides the essential templates you need to protect your business legally. The key is to start with a strong brand and showcase your work with beautiful, high-quality photos of your finished products.
Scaling with the Party Favor Studio Membership
Feeling overwhelmed by the idea of starting a business? You don’t have to do it alone. The Party Favor Studio Membership is our all-access pass for creative entrepreneurs ready to level up. It’s a complete roadmap designed specifically for the party favor industry—something generic business programs simply can’t offer.
Members get instant access to:
- A vault of exclusive templates and professional mockups to build your product listings fast.
- In-depth tutorials on pricing, marketing, and creating passive income streams.
- A supportive community of fellow creators to share wins and ask questions.
Building Your Portfolio and Marketing Your Craft
Your best sales tool is your own work. Use social media platforms like Instagram and Pinterest to share photos and videos of the amazing things you create. Showcase the entire process! Your “Celebrate” projects (your own kids’ parties) become the portfolio for your “Create” skills, which in turn becomes the foundation for your “Grow” business cycle. This authentic journey attracts customers who love your style and want you to create that same magic for them.
Frequently Asked Questions
Do I need a special printer to use editable party templates?
No! Any standard color inkjet printer will work beautifully. The key is to use high-quality paper and the right printer settings (like “Best Photo”) to achieve vibrant results.
Can I edit these templates on my phone, or do I need a computer?
You can do both! Canva has a fantastic mobile app that allows for easy editing on the go, but for more detailed work, many creators prefer the larger screen of a desktop or laptop.
What is the best type of paper for printing custom chip bags?
For that authentic, store-bought look and feel, we recommend using a glossy photo or presentation paper around 30-40 lb. It’s the perfect weight for easy folding and a professional finish.
Are these templates compatible with Cricut and Silhouette cutting machines?
Our templates are designed for printing and hand-cutting. While some advanced users adapt them for “Print Then Cut” features, they are optimized for simple scissor or paper trimmer assembly, making them accessible to everyone, regardless of the equipment they own.
Can I sell the party favors I make using these editable templates?
Yes! We love seeing creators build businesses using our templates. You are welcome to sell the physical, assembled party favors you create. However, reselling or sharing the digital template files themselves is not permitted.
Your Creative Journey Awaits
You now have the complete playbook to go from party planner to pro creator. By following the Celebrate, Create, Grow framework, you can craft celebrations that leave a lasting impression, master the skills to make flawless favors, and even build the creative business of your dreams.
Ready to take the next step? Here’s how you can get started:
- Ready to Celebrate? Explore our shop for editable templates and find the perfect theme for your next event.
- Eager to Create? Grab our recommended papers and supplies to ensure your projects look stunning.
- Dreaming to Grow? Learn more about the Party Favor Studio Membership and join a community of thriving entrepreneurs.
Whatever your goal, we’re here to cheer you on every step of the way. Happy creating!
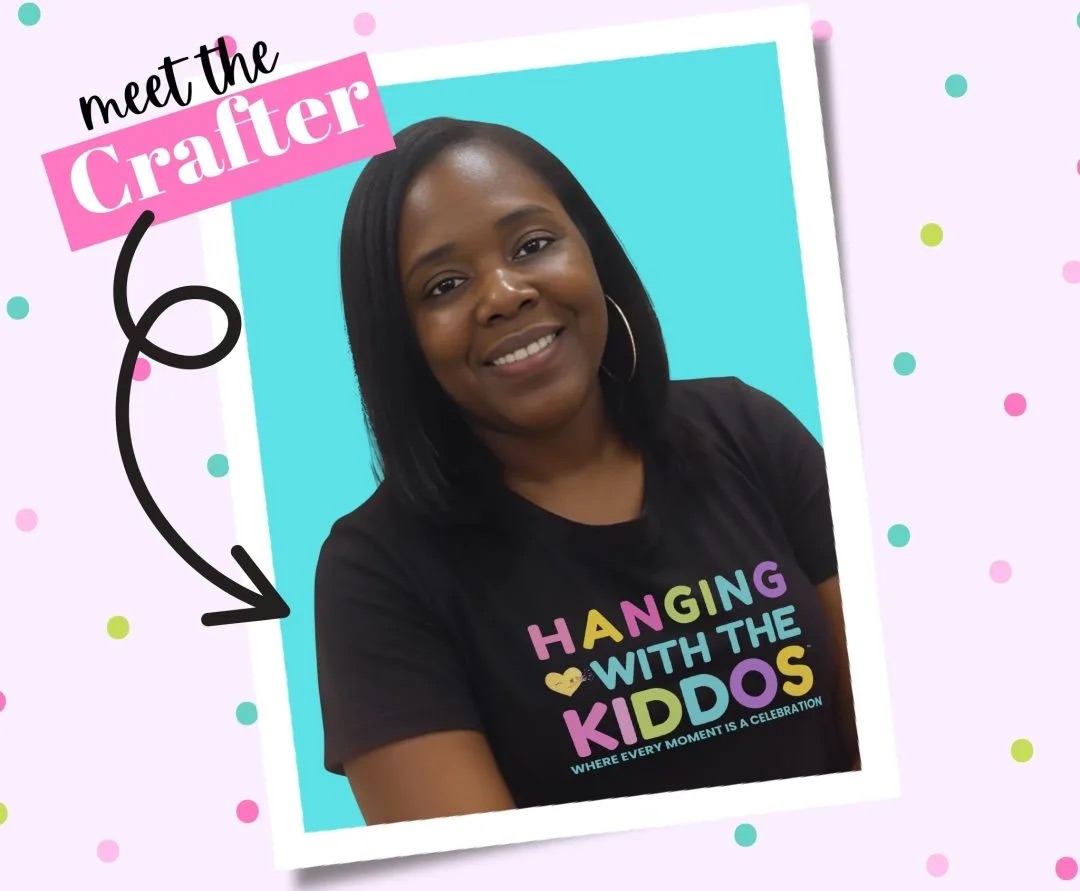
Article by
Latoya
Latoya is the founder of Hanging with the Kiddos, where she helps DIY creators design and print professional-quality party favors at home. Through step-by-step tutorials, editable Canva templates, and the Party & Confetti line of premium printing supplies, she shares practical tips that make creating personalized celebrations easier and more enjoyable. Her mission is simple: help families, creators, and small business owners Celebrate • Create • Grow.
Disclaimer
“This post may contain affiliate links, which means if you choose to make a purchase, I may earn a small commission from purchases made at no extra cost to you. Your support is invaluable in helping me continue providing free content on this site & I really appreciate It!”


