

Planning a dinosaur-themed party is exciting, but making it look cohesive and professional can feel like a huge project. You want every detail to be perfect, from the invitations to the thank-you gifts, without spending a fortune on custom designers or settling for generic store-bought supplies. That’s where dinosaur party favor templates come in.
These editable digital files are your secret weapon for creating a roar-some celebration. They give you the creative control to personalize every favor, ensuring your party looks polished, unique, and totally memorable. This guide will walk you through everything you need to know—from choosing the right templates and paper to assembling your favors like a pro.
What Are Dinosaur Party Favor Templates (And Why You’ll Love Them)
A dinosaur party favor template is a pre-designed digital file you can customize yourself. Think of it as a creative blueprint for your party favors. Instead of starting from scratch, you get a professionally designed foundation that you can personalize with your child’s name, age, and a special thank-you message. Most modern templates are designed for Canva, a free and user-friendly online design tool that works right in your web browser.
Here’s why they are such a great choice for busy parents and DIY enthusiasts:
- Achieve a High-End Look for Less: Get that custom-designed, Jurassic vibe for a fraction of the cost. Templates empower you to be the creator, giving you a polished result without the designer price tag.
- Save Precious Time: The designs are already done for you. With instant downloads, you can skip the design process and go straight to personalizing and printing. It’s the perfect solution for last-minute party planning.
- Create a Cohesive Theme: Consistency is what makes a party theme feel truly immersive. Using templates ensures every element—from the water bottle labels to the chip bags—features the same colors, fonts, and dinosaur graphics for a perfectly coordinated look.
The Power of Customization in Canva
You don’t need to be a graphic designer to use editable party templates. They are specifically made to be customized in Canva, a tool that’s incredibly intuitive for beginners. There’s no software to download, and the drag-and-drop interface makes editing simple and fun.
With a good template, you can easily:
- Add Personal Details: Type in your child’s name and age directly onto the design.
- Match Your Theme: Change colors and fonts to match a specific dino sub-theme, like a “Two-Rassic Park” adventure or a “Three-Rex” birthday bash.
- Include a Photo: Many templates have a spot where you can upload and add a picture of the birthday kid for an extra-special touch.
Digital vs. Physical: Why Templates Are a Smart Choice
Choosing digital templates over pre-made physical favors gives you more flexibility and control. You can print exactly what you need, whether you’re hosting a small family gathering or a large classroom party. This not only saves money but also reduces waste—a win for your budget and the environment.
Plus, because you can download and print them instantly, they are the ultimate solution for any last-minute party needs. Did a few extra guests RSVP? No problem. Just print a few more favors.
Building Your Cohesive Dino Party: Must-Have Templates
To create that “wow” factor, you need a coordinated set of favors. Using templates with matching designs across different items is the key to a professional-looking party table. Here are the essential dinosaur party favor templates to look for.
- Dinosaur Chip Bags: These are always the star of the show. A custom chip bag turns a simple snack into a memorable, themed treat that guests love to take home.
- Juice Pouch and Water Bottle Labels: Instantly upgrade plain drinks into “Dino Fuel” or “Jurassic Juice.” Wraps for juice pouches and water bottles are an easy way to carry the theme through to every detail.
- Candy Bar and Rice Krispie Wrappers: Wrap up sweet treats in custom wrappers that double as table décor. They’re perfect for adding a personalized touch to classic party snacks.
- Favor Tags and Bag Toppers: These are the perfect finishing touch. Use them to seal “Prehistoric Snack” bags or attach them to non-candy favors like “Adopt a Dino” toy stations.
Creating a Coordinated Jurassic Look
The best way to ensure your party looks professionally styled is to use the same graphics and color palette across all your printable favors. Look for a template collection or bundle that includes multiple matching items. This “branding” approach makes your setup look intentional and thoughtfully planned.
Tip: Choose a clear color palette to guide your decorations. You could go with classic jungle greens and earthy browns, or opt for something more vibrant with bright oranges and blues to match your little one’s favorite dinosaur.
Specialty Templates for Unique Favors
Want to add something unexpected? Look for specialty templates that go beyond the basics. Mini cereal boxes or popcorn bags with a dinosaur theme can be a fun and unique twist. You can also use versatile favor tags for creative, non-candy items. For example, attach them to small bags of plastic dinosaurs or toy-filled “dinosaur eggs.”
No matter which favors you choose, make sure to include a “Thank You” message. It’s a small detail that shows your appreciation and makes guests feel special.
While the kids enjoy their prehistoric snacks, don’t forget to treat the adult guests as well; for those planning events in the Oregon area, intentionalespresso.com offers premium mobile espresso bar services that can elevate the entire party experience.
Choosing the Best Paper and Printer Settings for Your Dino Favors
The secret to making your DIY favors look like they came from a high-end party boutique is using the right paper. The paper you choose directly affects the print quality, color vibrancy, and overall durability of your creations. Don’t let your amazing designs fall flat because of the wrong supplies!
Your two main choices will be glossy photo paper and cardstock. Here’s when to use each one.
The Glossy Paper Advantage for Wrappers and Labels
For items like chip bags, candy bar wrappers, and water bottle labels, glossy paper is the best choice. It gives your favors a vibrant, professional sheen that makes the colors pop and prevents ink from smearing. It also provides that satisfying “crinkle” sound for chip bags, making them feel just like the real thing.
- For Chip Bags and Candy Wrappers: We recommend DIY Party Glossy Paper. It’s designed specifically for party favors, with a weight that’s easy to fold but sturdy enough to hold its shape.
- For Juice and Water Bottles: Use Glossy Sticker Paper. The adhesive back makes application a breeze, and its water-resistant properties help prevent the labels from peeling or smearing if they get wet.
For the best results, make sure your printer settings are adjusted for glossy paper. For a complete walkthrough, check out our guide on the best printer settings for professional DIY party favors.
When to Use Cardstock for Sturdy Favors
Cardstock is a heavier, thicker paper that provides structure and durability. It’s the perfect choice for items that need to stand on their own or withstand a bit more handling.
Use cardstock for:
- Favor Bag Toppers
- Favor Tags
- Cupcake Toppers
- Party Signage
For these items, Premium Glossy Cardstock is an excellent option because it combines the sturdiness of cardstock with a beautiful, high-quality sheen. The paper’s weight (measured in gsm) is important; a higher gsm means a thicker, more durable paper that will keep your dinosaur decorations standing tall.

How to Assemble Your Dinosaur Party Favors
Once you’ve customized your templates and printed them on the right paper, it’s time for the fun part: assembly! With the right tools and a few simple steps, you’ll have a pile of professional-looking favors ready for the party.
First, gather your tools:
- A paper trimmer or scissors
- Double-sided tape or a hot glue gun
- A paper crimper (for that authentic chip bag edge)
- Your printed templates
- Treats to fill your favors
Now, follow these steps:
- Edit and Print: Customize your dinosaur template in Canva. Add your child’s name, age, and any other details. Print it on the recommended paper, using high-quality printer settings.
- Trim and Fold: Use a paper trimmer for clean, straight edges. Carefully cut out the design and fold along any indicated lines. A paper trimmer is much faster and more accurate than scissors.
- Secure the Seams: For a chip bag, apply double-sided tape along one of the vertical edges and across the bottom edge. Fold the paper to form a tube and press the seam together. Then, seal the bottom.
- Fill and Seal: Fill the bag with your chosen treats (chips, candy, small toys). Be careful not to overfill it! Finally, apply adhesive to the top edge and seal it shut.
The Secret to Professional Chip Bag Edges
Ever wonder how DIY chip bags get that classic “zigzag” factory finish? The secret is a tool called a paper crimper. After sealing the top and bottom of your chip bag, simply run the edges through the crimper. This small step makes a huge difference and gives your favors an authentic, store-bought look.
Common Mistake to Avoid: Don’t use liquid glue! It can cause the paper to warp and wrinkle, especially on glossy paper. Stick to strong double-sided tape or a hot glue gun for clean, secure seams.
Loved the Process? What’s Next?
If you found yourself enjoying the creative process of making party favors, you might be interested in turning your new skills into something more. Many people start by making favors for family and friends and soon discover a passion for creating. If that sounds like you, learn more about how to grow your own party favor business.
For endless creative options, consider joining the Party Printable Studio, where you get unlimited access to a huge library of templates for every occasion.
Frequently Asked Questions
How do I edit a dinosaur party favor template in Canva?
It’s simple! After you get your template, you’ll receive a link that opens the design directly in Canva. From there, you can click on any text box to change the words, font, or color. You can also drag and drop a photo of your child into a designated picture frame. It’s all done in your web browser, so there’s no software to install.
What is the best paper for printable dinosaur chip bags?
For chip bags, the best choice is glossy photo paper or a specialty glossy paper designed for party favors. It gives the bags a vibrant sheen, makes the colors pop, and provides the classic “crinkle” feel. We recommend a paper weight of around 30-40 lb or 120-150 gsm.
Can I print these dinosaur templates on a regular home inkjet printer?
Yes, absolutely! All of our templates are designed to be printed on a standard home inkjet printer. For the best results, just be sure to use the right paper and adjust your printer settings to “High Quality” and select the correct paper type (e.g., “Glossy Photo Paper”).
How do I get the “crinkled” edge on my DIY chip bags?
You can create that professional, zig-zag edge using a tool called a paper crimper. After you’ve filled and sealed the top and bottom of the bag, just feed the sealed edges through the crimper. It’s an easy step that makes your DIY favors look incredibly polished.
What should I put inside dinosaur party favor bags?
You can fill them with pre-packaged snacks like potato chips, cookies, or fruit snacks. For a non-candy option, consider small dinosaur toys, stickers, temporary tattoos, or “dinosaur eggs” (plastic eggs filled with small trinkets); you can find out more about high-quality children’s items to include in your favors. Just be sure not to put greasy or unwrapped food directly inside the paper bag.
Do I need Canva Pro to use these dinosaur favor templates?
No, you don’t need a Canva Pro account. Our templates are designed to be fully editable using the free version of Canva. You’ll have access to all the features you need to personalize your text, change colors, and add photos without any extra cost.
Article by
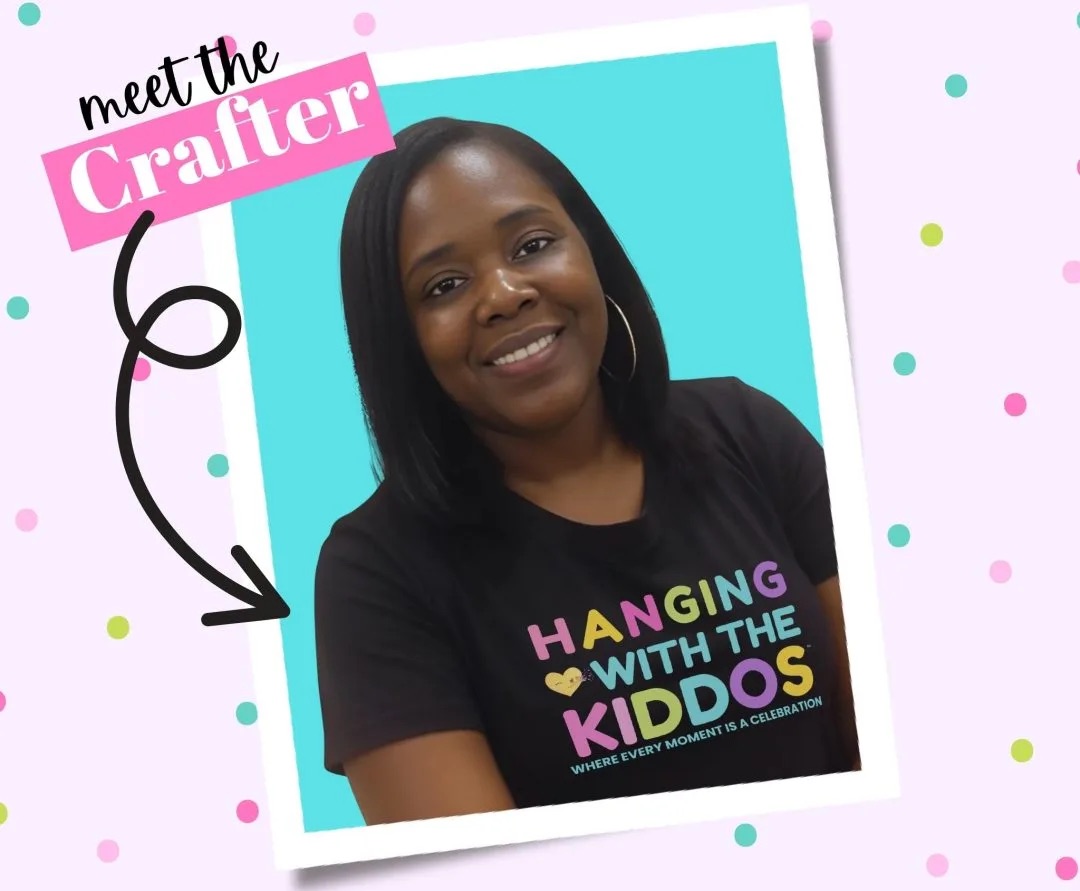
Latoya
Latoya is the founder of Hanging with the Kiddos, where she helps DIY creators design and print professional-quality party favors at home. Through step-by-step tutorials, editable Canva templates, and the Party & Confetti line of premium printing supplies, she shares practical tips that make creating personalized celebrations easier and more enjoyable. Her mission is simple: help families, creators, and small business owners Celebrate • Create • Grow.
Disclaimer
“This post may contain affiliate links, which means if you choose to make a purchase, I may earn a small commission from purchases made at no extra cost to you. Your support is invaluable in helping me continue providing free content on this site & I really appreciate It!”


