

Why Make Your Own Party Favors? (And How to Get Them Right)
Creating your own party favors is one of the best ways to make a celebration feel truly personal and cohesive. Instead of handing out generic plastic toys or random candies, you can design something that perfectly matches your theme, colors, and the spirit of your event. A custom-wrapped chocolate bar or a personalized bag of chips isn’t just a treat—it’s a thoughtful keepsake that makes your guests feel special.
But many people hesitate, worried that their creations will look messy or “homemade” in a bad way. The good news is that you don’t need to be a graphic designer to get a polished, impressive result. The key isn’t artistic talent; it’s using the right combination of high-quality templates and the proper supplies—especially the right paper.
This guide will walk you through everything you need to know, from choosing the best paper for each project to assembling your favors with confidence. Let’s get started.
Moving Beyond Generic Fillers
When you take the time to create something unique, it shows. A favor that’s thoughtfully designed to match your invitations and decor ties the whole event together. Think about it: a custom chip bag with the birthday kid’s name and photo has a much bigger impact than a handful of loose candies in a clear cello bag. It’s about creating a memorable experience from start to finish.
For those hosting sports-themed celebrations, you can even supplement your DIY efforts with specialized memorabilia from Custom Sports Products, which offers unique sports-themed photo gifts and custom plaques that make for unforgettable keepsakes.
- Cohesive Branding: Using consistent colors, fonts, and images across your party elements creates a polished, professional look that guests will notice.
- Personal Touch: Adding names, dates, or photos turns a simple favor into a meaningful memento, especially for milestone events like first birthdays, graduations, or baby showers.
- The Confidence Factor: There’s a special kind of pride that comes from being able to say, “I made these!” Our goal is to give you the tools and knowledge to say it with confidence.
The DIY Creator’s Toolkit: Essential Templates and Supplies
Before you start creating, it’s important to gather the right supplies. Using materials designed for party printables will make the entire process smoother and ensure your final product looks clean and vibrant. Here’s a breakdown of what you’ll need, organized by the type of favor you want to make.
Paper Recommendations for Common Party Favors
The type of paper you choose affects everything from print quality and color vibrancy to how easily it folds and holds up during the party. Here are our top recommendations for the most popular DIY favors.
For Chip Bags, Candy Bar Wrappers, and Treat Bags:
For items that need to be folded into a package, you need a paper that is sturdy but flexible, with a finish that makes colors pop. We recommend using a high-quality glossy paper designed for photos and crafts.
- Our Go-To: Party & Confetti Premium Glossy Paper is specifically made for this purpose. It’s a brochure-weight paper that’s easy to fold without cracking, and its glossy surface produces bright, sharp images straight from a home inkjet printer.
For Water Bottle Labels and Juice Pouch Labels:
Favors that might get wet or be chilled need a waterproof material. Regular paper or sticker paper will run, wrinkle, or peel off when exposed to condensation. For these, a waterproof sticker paper is essential.
- Our Go-To: Glossy Waterproof Sticker Paper ensures your labels stay put and look great, even after hours in a cooler. Just print, peel, and stick onto a dry bottle for a secure fit.
For Favor Boxes, Favor Tags, and Cake Toppers:
For structural items that need to stand on their own or hold their shape, you’ll need a heavier paper, known as cardstock. This will prevent your boxes from collapsing and your toppers from flopping over.
- Our Go-To: Premium Glossy Cardstock provides the necessary weight and rigidity. It’s perfect for creating sturdy favor tags, gift boxes, and even small signs. For larger, more structural projects like printable cereal boxes, a heavy 110 lb cardstock is an excellent choice.
Software, Hardware, and Assembly Tools
Once you have your paper, you’ll need a few other items to bring your designs to life.
- Design Software: Canva is our top recommendation for non-designers. It’s an intuitive, web-based tool that makes it easy to customize designs. You can start with editable party favor templates, where the layout is already done for you. All you have to do is change the text and add your own photos.
- Printer: A reliable inkjet printer is all you need. Look for a model that can handle different paper types and weights, including glossy photo paper and cardstock. Most modern home inkjet printers work perfectly.
- Cutting Tools: For straight, clean edges, a paper trimmer is far more effective than scissors. For decorative edges on things like chip bags, a pair of pinking shears can add a nice touch.
- Adhesives: A strong double-sided tape is best for assembling chip bags and candy wrappers. It provides a clean, secure seal without the mess of liquid glue. A hot glue gun is useful for attaching items like cake toppers to sticks.
For a complete list of our favorite supplies, check out our guide to the must-have tools for assembling party decorations.
From Screen to Celebration: A Step-by-Step Assembly Guide
With your templates and supplies ready, it’s time to create! This simple workflow will help you move from your computer screen to a finished party favor you can be proud of.
Step 1: Customize Your Design in Canva
Open your chosen template in Canva. If you’re using one of our templates, all the design elements are already in place. Simply click on the text boxes to personalize the name, date, and any other details. To add a photo, just drag and drop your image file into the designated photo frame. You can also adjust colors to match your party’s theme using Canva’s simple color-picker tool.
Step 2: Check Your Printer Settings
Before you hit “Print,” take a moment to configure your printer settings. This is a critical step for achieving vibrant colors and sharp details. Because every printer is different, we recommend printing a single test sheet first to make sure you’re happy with the results.
- Paper Type: In your printer’s print dialog box, find the “Paper Type” or “Media Type” setting. Choose an option that matches the paper you’re using, such as “Glossy Photo Paper,” “Premium Glossy,” or “Other Photo Papers.” This tells your printer how much ink to apply.
- Print Quality: Select the highest quality setting available. This might be called “High,” “Best,” or “Fine.” Printing at a higher quality uses more ink but produces a much better result.
- Paper Size: Ensure the paper size is set to “US Letter” (8.5″ x 11″) or whatever size you are using.
Step 3: Print and Cut Your Designs
Once your test print looks good, go ahead and print the rest of your favors. Give the ink a minute or two to dry before handling to prevent smudges, especially on glossy surfaces. For the most accurate cuts, use a paper trimmer to cut along the provided trim lines. This will give you perfectly straight edges that are difficult to achieve with scissors alone.
Step 4: Assemble Your Favors
Now for the fun part! The assembly process varies slightly depending on the favor you’re making. Here are instructions for two of the most popular projects.
Mastering the Custom Chip Bag
- Place the printed wrapper design-side down. Apply double-sided tape along the top and bottom edges, and down one of the vertical side edges.
- Place your snack (a 1 oz pre-packaged bag of chips, cookies, or pretzels) in the center.
- Bring the two vertical edges together to form the back seam, overlapping the edge with tape over the plain edge. Press firmly to seal.
- Press the bottom edge together to seal it. Then, press the top edge together to seal the bag completely.
Pro-Tip: To get that classic, crinkled edge you see on store-bought snack bags, use a tool called a paper crimper. Gently run the top and bottom sealed edges of your bag through the crimper for an authentic finishing touch.
Water Bottle and Juice Pouch Labels
- Make sure you are using Glossy Waterproof Sticker Paper for a result that won’t smudge or peel.
- Ensure the surface of your water bottle or juice pouch is completely clean and dry. Any moisture or residue can prevent the label from sticking properly.
- Peel the backing off your printed label and carefully apply it, starting from the center and smoothing your way out to the edges to prevent air bubbles.
- Overlap the ends of the label slightly for a secure fit that will last throughout the party.

Scaling Your Creativity: From One Project to a Full Party Theme
Once you see how easy it is to make one type of favor, you’ll be ready to create a whole collection. A coordinated set of party supplies creates a truly immersive and memorable experience for your guests.
Coordinating Your Entire Theme
The key to a cohesive look is to build your decor around a single “hero” design. Use the same fonts, color palette, and graphics from your main invitation or favor template across all your party elements. For example, if you’re planning a dinosaur-themed birthday, you can use the same dinosaur graphics and jungle-inspired fonts on everything from the invitations and banners to the chip bags and thank-you tags.
This approach saves you time and ensures that every detail feels intentional and well-planned. You can find coordinated sets of templates for popular themes, like our Summer Party Printables, which makes it easy to get a consistent look without starting from scratch for each item.
Join the Party Printable Studio
If you find yourself planning parties regularly or are interested in starting your own creative business, you might enjoy our membership community. The Party Printable Studio is designed for busy parents and creative entrepreneurs who want to streamline their process. Members get access to a growing library of templates, advanced tutorials, and a community of fellow creators who share a passion for celebrating life’s moments. It’s a great way to continue learning and growing your DIY skills.
Finding a balance between creative projects and daily life is key for any parent. If you’re interested in further personal development, you might find that self improvement ebooks for parents provide helpful insights for navigating the complexities of family and self-care.
Ultimately, the most important thing is to have fun with the creative process. The right tools and a little guidance are all you need to bring your vision to life. Happy creating!
Frequently Asked Questions (FAQs)
What is the best paper to use for printable party favors?
It depends on the project. For foldable items like chip bags, use a brochure-weight glossy paper. For labels on drinks, use waterproof sticker paper. For sturdy items like boxes and tags, use glossy or matte cardstock.
Do I need a special printer to make my own party favors?
No, a standard home inkjet printer that can handle photo paper and cardstock is all you need. The key is to use the correct printer settings for your paper type.
How do I prevent ink from smearing on glossy photo paper?
First, make sure you are using paper designed for your type of printer (inkjet vs. laser). Second, in your printer settings, select “Glossy Photo Paper” as the media type. Finally, allow the print to dry for a minute or two before touching it.
Can I make party favors in Canva for free?
Yes, you can use Canva’s free version to create your own designs from scratch or modify free templates. However, many high-quality, pre-made party favor templates are sold by designers and may require a free or Pro Canva account to edit.
What tools do I need to assemble custom chip bags?
The essentials are a paper trimmer for straight cuts, double-sided tape for sealing, and optionally, a paper crimper for adding a textured edge to the top and bottom seals.
How far in advance should I start making my DIY party favors?
It’s wise to start at least one to two weeks before your event. This gives you plenty of time to print a test copy, make any necessary adjustments to your design, and assemble the favors without feeling rushed.
Article by
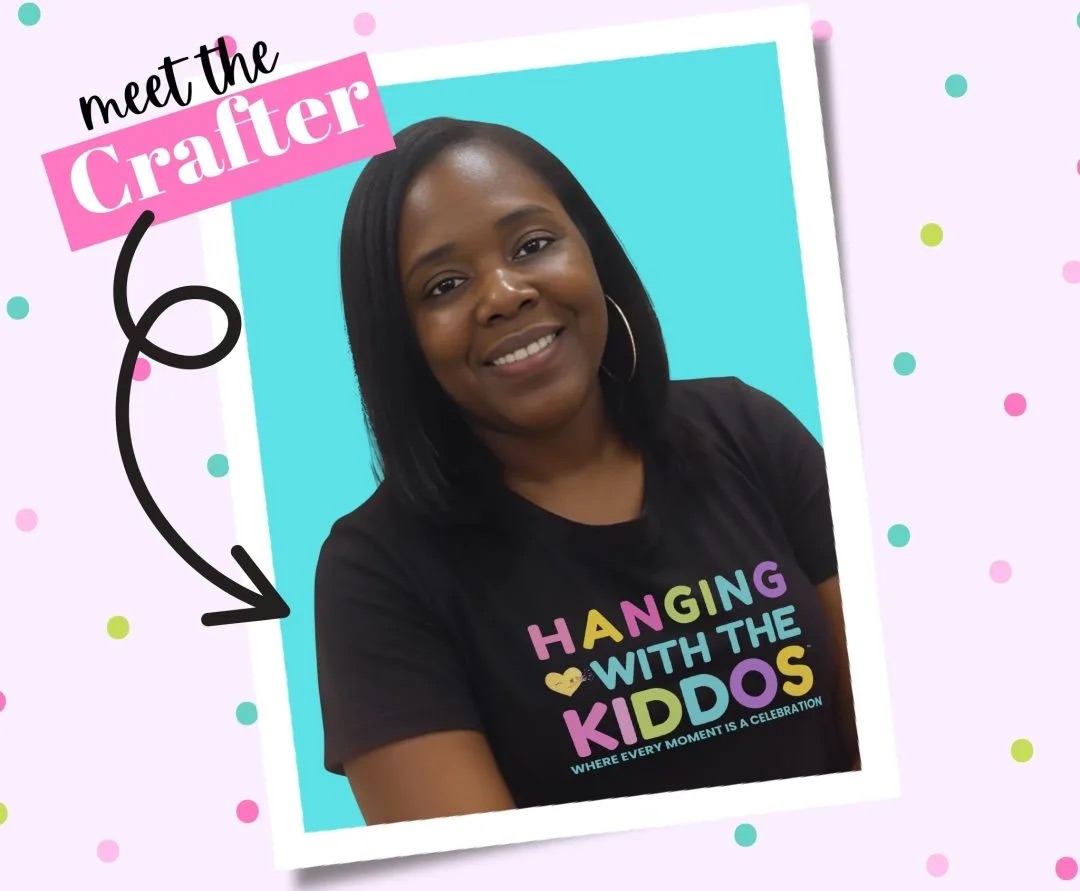
Latoya
Latoya is the founder of Hanging with the Kiddos, where she helps DIY creators design and print professional-quality party favors at home. Through step-by-step tutorials, editable Canva templates, and the Party & Confetti line of premium printing supplies, she shares practical tips that make creating personalized celebrations easier and more enjoyable. Her mission is simple: help families, creators, and small business owners Celebrate • Create • Grow.
Disclaimer
“This post may contain affiliate links, which means if you choose to make a purchase, I may earn a small commission from purchases made at no extra cost to you. Your support is invaluable in helping me continue providing free content on this site & I really appreciate It!”


