

Ready to transform a simple drink into a stunning, personalized party favor? A custom juice pouch label template is your secret weapon for creating those picture-perfect details that make any celebration feel extra special. Whether you’re planning a birthday bash, a baby shower, a school function, or a holiday gathering, these labels add a professional, cohesive touch that guests will love.
But maybe you’re worried they’ll look homemade, the ink will smear, or you’ll waste a ton of paper trying to get it right. Don’t be! This guide is designed for complete beginners and will walk you through every single step. You’ll learn exactly how to use an editable Canva template to customize, print, and assemble flawless juice pouch labels that look like they came straight from a high-end party boutique.
Forget the stress and confusion. Let’s dive in and have some fun creating beautiful DIY party favors!
Table of Contents
About Our Juice Pouch Label Template
To get professional results, you need to start with a professional-grade template. A great juice pouch label template isn’t just about the design; it’s about making the entire creative process easy, fast, and foolproof. We designed our templates specifically for busy parents and party planners who want incredible results without needing any graphic design experience.
Here’s what makes our editable Canva templates the perfect choice for your next event:
- Perfectly Sized: Our templates are expertly designed to fit standard 6 oz Capri Sun and Kool-Aid Jammers-sized juice pouches, eliminating any guesswork.
- Beginner-Friendly: If you can click, drag, and type, you can use this template! It’s incredibly intuitive and built for non-designers.
- Works with Free Canva: You don’t need a paid Canva Pro account. Our templates are fully compatible with the 100% free version of Canva.
- Fully Customizable: Go beyond just changing the name. You have complete creative control to edit text, change colors, swap fonts, add your own graphics, and even upload personal photos to match your theme perfectly.
- Reusable for Unlimited Designs: Purchase once and use it forever. You can come back and create new designs for every birthday, holiday, and celebration to come.
Each template purchase includes everything you need to succeed:
- A Single Label Layout: Perfect for focusing on your design details.
- A Full-Page Print Layout: An 8.5″x11″ sheet pre-filled with multiple labels to make printing easy and cost-effective.
- Bonus Mockup Template: A professional mockup so you can see what your final product will look like or showcase it online.
What You’ll Need
Before getting started, gather the following:
- Our Editable Juice Pouch Label Template
- Canva (Free or Pro)
- Inkjet Printer
- Party & Confetti Glossy Waterproof Vinyl Sticker Paper
- Paper Trimmer or Scissors
- Standard Capri Sun®-Size Juice Pouches
- Optional Single Hole Punch
Step 1: Open Your Canva Template
Once you purchase your juice pouch label template, you’ll receive an instant download link. Inside, you’ll find a PDF document containing your access link. Getting started in Canva is simple.
Here’s how to open and prepare your template for editing:
- Download the PDF: After your purchase is complete, download the PDF file from the confirmation page or the email sent to you.
- Click the Access Link: Open the PDF and click the link or button that says “Access Your Template,” “Edit My Template,” or something similar.
- Use the Template in Canva: This link will open a new window in your web browser, taking you directly to Canva. A preview of the template will appear. Click the “Use template” button.
- A Copy is Created: Canva will automatically create a fresh copy of the template and save it to your personal Canva account. Your original template link will remain unchanged, so you can always access a clean version later if you need to start over.
That’s it! Your template is now open, saved, and ready for you to personalize.
Step 2: Personalize Your Design in Canva
This is where the magic happens! Now you get to customize the template to perfectly match your party’s theme. Canva’s drag-and-drop interface makes this process fun and intuitive. Let’s walk through the most common edits for creating amazing custom juice pouch labels.
How to Edit Text
To change any of the placeholder text (like the name, age, or date), simply double-click on the text box you want to edit. The text will become highlighted, and you can type in your own information. You can also change the font style, size, and color using the toolbar at the top of the Canva editor.
How to Change Colors
Want to match the colors to your party decorations? Easy! Click on any element in the design, such as the background, a shape, or even some text. A color square will appear in the top-left corner of the editor toolbar. Click on it, and a color palette will open. You can choose a new color from the provided options, enter a specific hex code, or use the eyedropper tool to pull a color from an inspiration photo.
How to Replace Graphics
Our templates often come with themed graphics, but you can easily swap them out. Click on the graphic you want to replace and press the “Delete” key on your keyboard. Then, navigate to the “Elements” tab on the left-hand menu in Canva. Search for any graphic you can imagine (e.g., “dinosaur,” “princess crown,” “soccer ball”) and drag your chosen element onto the design.
How to Upload Photos
Adding a photo of the birthday child is a wonderful way to personalize your favors. To do this, go to the “Uploads” tab on the left-hand menu and click “Upload files.” Select a photo from your computer. Once it’s uploaded, you can drag and drop it directly into the template. Many of our designs include a photo frame—just drag your photo over the frame, and it will snap perfectly into place.
How to Duplicate Labels
Your template file includes a page with a single label and a full-page layout ready for printing. When working on the single label page, you can easily duplicate it to create different variations. Right-click on your finished design and select “Duplicate.” This is great if you want to create slightly different labels for different guests.
Once your design is perfect, you’re ready for the most important step for achieving professional quality: printing.
Step 3: Print Your Labels for a Flawless Finish
The secret to a professional-looking DIY party favor is 70% material selection and printing technique. Choosing the right paper and printer settings will prevent smudges, ensure vibrant colors, and give your labels a high-end feel.
The Best Paper for Juice Pouch Labels
For the absolute best results, we highly recommend using a glossy, waterproof material. After testing dozens of options, we’ve found that our Party & Confetti Glossy Waterproof Vinyl Sticker Paper is the ultimate choice. Here’s why:
- Vibrant Colors: The glossy finish makes colors pop, giving your labels a rich, store-bought look.
- Waterproof & Smudge-Proof: This is crucial! If your juice pouches will be in a cooler with ice or exposed to condensation, this paper ensures the ink won’t run or smear. It’s perfect for both juice pouches and water bottle labels.
- Durable Vinyl: It’s tear-resistant and stands up to handling by excited little guests.
While you can use other glossy sticker papers, using a waterproof vinyl option is the best way to guarantee your hard work looks amazing from the start of the party to the very end.
Recommended Printer Settings
Before you hit “Print,” adjusting your printer settings is a non-negotiable step for quality. Using the wrong settings is the #1 cause of smeared ink and dull colors.
In your printer’s dialog box, look for the following options:
- Paper Type: Set this to “Glossy Photo Paper,” “Premium Glossy,” or a similar high-quality photo paper setting. This tells your printer to use more ink and apply it correctly for a glossy surface.
- Print Quality: Select “Best,” “High,” or “Fine.” Avoid “Standard” or “Draft” modes, as they use less ink and will result in faded colors.
- Print Size: Ensure the size is set to “Actual Size” or “100%.” Do not use “Fit to Page” or “Scale to Fit,” as this will shrink your labels and they won’t fit the juice pouches correctly.
Pro Tip: After printing, let the sheet sit for at least 5-10 minutes before touching it or cutting. This gives the ink time to fully dry and set, preventing any accidental smudges.
Step 4: Assemble Your Juice Pouch Labels Like a Pro
With your labels printed and dried, it’s time for the final assembly. This part is quick, easy, and so satisfying! Follow these simple steps for a bubble-free, perfectly centered application.
- Print Your Labels: Following the instructions in Step 3, print your full-page layout onto your chosen sticker paper.
- Cut Out the Labels: Use a paper trimmer for the straightest, most professional-looking edges. A guillotine-style or sliding trimmer works best. If you don’t have one, sharp scissors and a steady hand will also work.
- Peel and Stick: Carefully peel the sticker backing off one of your labels. To avoid fingerprints on the adhesive, try to hold it by the edges.
- Apply from the Center Out: This is the key to avoiding bubbles and creases. Position the center of the label onto the front of the juice pouch. Lightly press down in the middle, then smooth the label outward toward the edges with your thumb or a credit card.
- Punch the Straw Hole (Optional): The label will cover the pre-made straw hole. If you want to recreate it, simply use a standard single-hole punch to punch through the label where the original hole was.
And that’s it! Stand back and admire your beautifully crafted, custom party favors. Repeat for the rest of your juice pouches.
Tips for the Best Results
Here are a few extra tips to ensure your DIY project is a smashing success:
- Print a Test Page First: Before printing your entire batch on expensive sticker paper, print one copy on regular printer paper. This allows you to check for any typos and confirm the colors look right.
- Measure Non-Standard Pouches: While our template is designed for Capri Sun, it fits many other 6 oz brands. If you’re using an organic or store-brand pouch, quickly measure the front flat area to ensure the label will fit before printing.
- Store Labels Flat: If you print your labels ahead of time, store them flat in a folder or on a bookshelf to prevent the corners from curling.
- Waterproof is a Must for Coolers: It’s worth repeating! If the drinks will be submerged in ice or get wet, using a waterproof vinyl sticker paper is essential for preventing the ink from bleeding. For a deep dive on paper types, check out our ultimate guide to glossy paper.
Frequently Asked Questions
Does this template fit Capri Sun juice pouches?
Yes, absolutely! Our printable juice pouch labels are specifically designed to be the perfect size for standard 6 oz Capri Sun pouches. They also fit similarly sized pouches like Kool-Aid Jammers.
Can I edit the template in Canva Free?
Yes. You do not need a paid Canva Pro subscription to use our templates. All fonts, colors, and graphics used in our designs are fully accessible and editable with a free Canva account.
What is the best paper to use for juice pouch labels?
For the most durable, vibrant, and professional-looking labels, we strongly recommend a waterproof glossy vinyl sticker paper. It prevents ink from smearing if the pouches get wet and makes the colors look incredibly rich.
Can I use this template for other juice pouch brands?
Most likely, yes. The template is sized for the most common 6 oz pouches. However, if you are using a different brand, we suggest printing a test copy on plain paper and holding it up to the pouch to confirm the fit before printing on your sticker paper.
Can I get my labels printed at Staples or Office Depot?
Yes, you can. After you finish customizing your design in Canva, download it as a “PDF Print” file. Save this file to a USB drive or upload it to your local print shop’s website. Be sure to ask them to print on glossy sticker paper and at “Actual Size” (100%).
Are the labels really waterproof?
The waterproof quality depends entirely on the paper you choose. If you print on our Party & Confetti Glossy Waterproof Vinyl Sticker Paper, then yes, your labels will be waterproof and can be placed in coolers with ice without any issues.
Article by
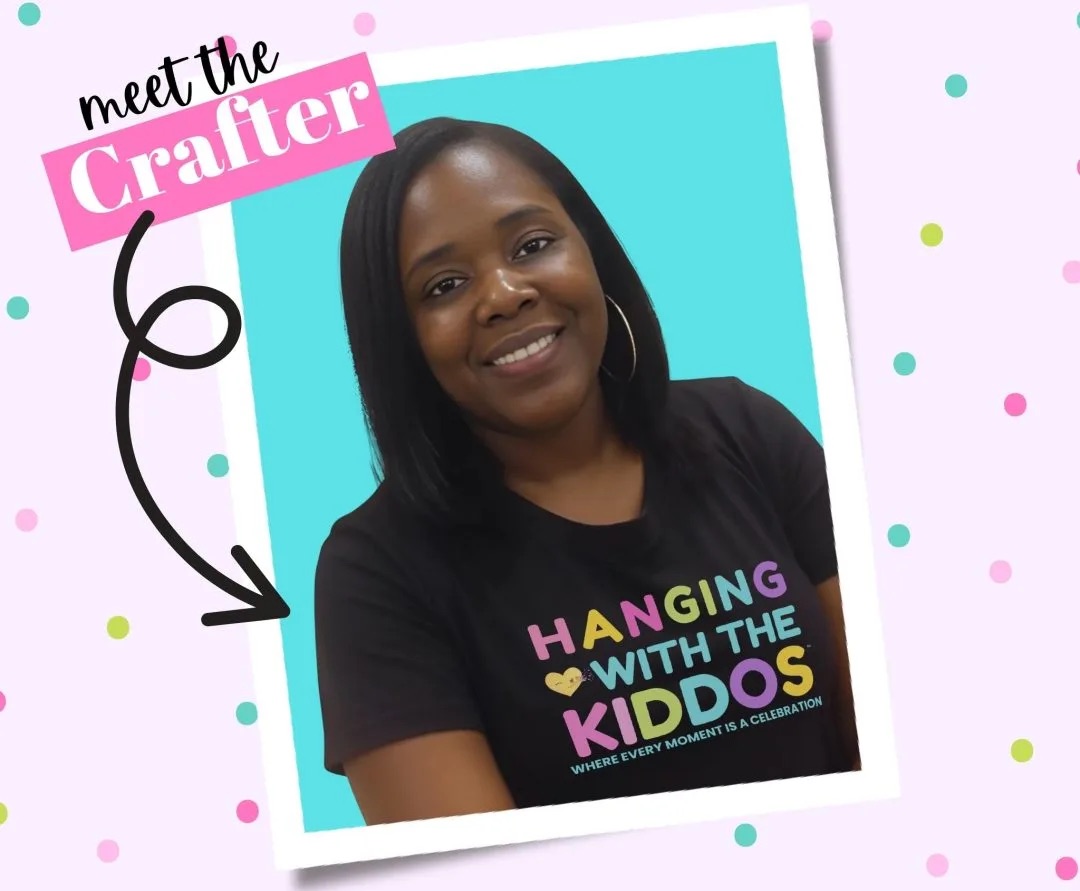
Latoya
Latoya is the founder of Hanging with the Kiddos, where she helps DIY creators design and print professional-quality party favors at home. Through step-by-step tutorials, editable Canva templates, and the Party & Confetti line of premium printing supplies, she shares practical tips that make creating personalized celebrations easier and more enjoyable. Her mission is simple: help families, creators, and small business owners Celebrate • Create • Grow.
Disclaimer
“This post may contain affiliate links, which means if you choose to make a purchase, I may earn a small commission from purchases made at no extra cost to you. Your support is invaluable in helping me continue providing free content on this site & I really appreciate It!”
Similar Posts
Shopify for Digital Party Printables: 2026 Growth Guide
Hey there, fellow creator! If you’re here, you’re probably wondering if there’s a better way to sell your beautiful digital party printables. Maybe…
Dinosaur Party Favor Templates: Ultimate DIY Guide
Planning a dinosaur-themed birthday party for your little one? You’re in the right place! Get ready to transport your guests back to the Jurassic…
Party Favors That Parents Will Actually Appreciate: A Clutter-Free Guide
Table of Contents
The 'No-Clutter' Philosophy: Why Parent-Approved Favors Matter
5 Categories of Party Favors Parents Actually…
Canva vs. Corjl for Party Templates: The Ultimate 2026 Comparison
What if the secret to professional-quality party favors wasn’t a degree in graphic design, but simply choosing the right tool for your kitchen table?…
How to Take Good Photos of Your Party Favors: A DIY Tutorial (2026)
You’ve designed the perfect party favors. You’ve printed them on beautiful, vibrant paper, and assembled them with care. They look absolutely…
The Ultimate Guide to Editable Party Templates for Professional DIY Results in 2026
Ever dreamed of throwing a party that looks like it jumped right off a Pinterest board, but without the custom-designer price tag? You’re in the…


