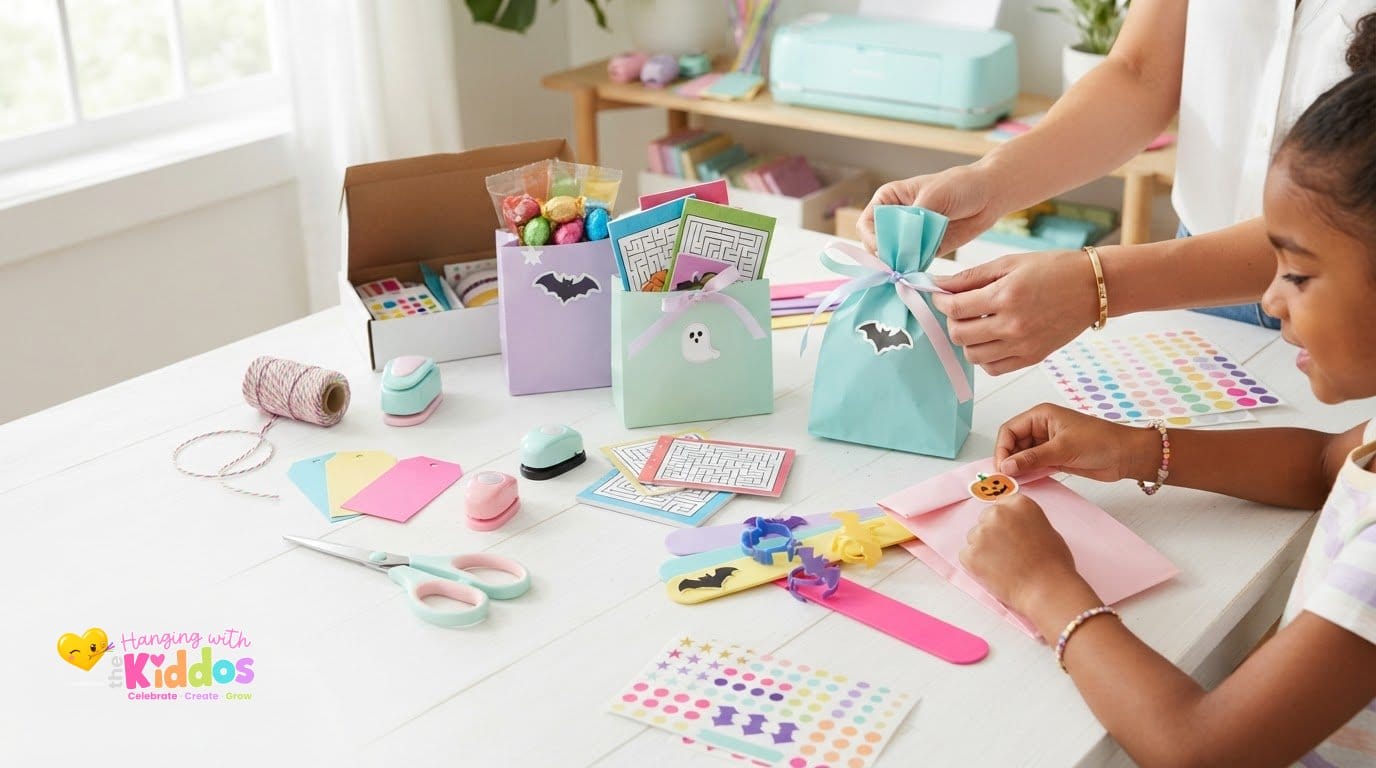
What if paper weight matters more than your printer brand when you’re making custom chip bags and candy wrappers? Glossy Photo Paper can give party favors a bright, high-shine finish, but the wrong paper or printer setting may leave you with smudged ink, dull colors, or a wrapper that cracks when folded. It’s frustrating when a printable looks perfect on screen but doesn’t come together as planned.
Start by matching the paper to the project. The right weight depends on how much structure a favor needs and how tightly the paper must bend. This guide covers paper choices for common party printables, printer settings that can help prevent smears, and practical ways to check color and fit before printing a full batch.
You’ll also find handling tips for chip bags, candy wrappers, and other party printables. Hanging with the Kiddos offers editable templates and printing supplies, including premium glossy paper, glossy cardstock, and sticker paper, so you can choose materials that fit the project. For more approachable project inspiration, explore these easy paper crafts for party favors.
Table of Contents
Why Glossy Photo Paper is Essential for Professional DIY Favors
A polished favor feels special before anyone even opens it. Glossy Photo Paper gives custom chip bags, candy wrappers, and labels a reflective finish that can make a design look bright and coordinated. The shine catches the light, which works especially well with bold colors, photos, and celebratory artwork.
The finish comes from a coating applied to the paper surface. Coated paper, including glossy varieties, is created with special materials and processes to achieve its distinctive surface. Because the coating changes how the surface takes in ink, paper and printer settings need to work together. When they’re compatible, graphics can look crisp and colors can appear more vivid than they do on plain paper.
Vibrancy and Color Depth
Photos, character art, and saturated party palettes often suit a reflective finish. High gloss gives a stronger shine, which can complement glamorous designs. A softer gloss offers a more subtle sheen when you want a polished look without as much reflection. Print a sample before committing to a batch, since colors on screen may look different on paper.
Durability and Professional Feel
Paper weight affects how sturdy a favor feels in someone’s hand. A heavier sheet can feel more substantial, while a lighter one may be easier to wrap around a package. Choose based on the folds and shape your project needs, not shine alone. A coated surface may handle light contact differently from plain paper, but glossy prints aren’t waterproof. Keep them dry and handle them with care.
Glossy paper is a common choice for custom chip bags because its shine gives printed graphics a bright, finished look. During assembly, the smooth face can make it easier to adjust a wrapper’s position before securing it. That can help when you’re lining up a seam or centering a design. HWTK offers premium glossy paper for DIY party projects, including chip bags and candy wrappers.
A coordinated printable and suitable paper can make a favor feel more considered. Browse party printable designs for artwork you can customize to suit your celebration.
Matching Paper Type to Your Party Project
Choose paper by what the finished printable needs to do. Weight, measured in grams per square meter (gsm), is one clue: lighter sheets are usually easier to bend, while heavier stock is more rigid. Also consider whether the design needs to wrap around an item, stand upright, or stick to a smooth surface. An editable Canva party template can help you plan the design around the finished format.
Glossy Paper Sheets for Wrappers and Bags
For chip bags, candy bar wrappers, and Rice Krispies treat covers, a flexible sheet is easier to shape around the favor. A useful starting range is 120–150 gsm. Before printing a batch, make a sample and fold it along the template’s seams. Check whether it bends cleanly, covers the item, and leaves enough room to secure the edges. HWTK offers premium glossy paper for printable party projects.
The New York Public Library’s photographic process glossary includes historical context on high-gloss photographic papers, including Cibachrome prints. For party favors, focus on how the sheet handles your project’s folds and seams.
Glossy Cardstock for Decorations
Invitations, cake toppers, favor tags, and banners can benefit from material that holds its shape. Cardstock around 200 gsm or heavier can be a starting point for sturdier pieces, but first confirm that your printer supports the stock. Glossy cardstock suits decorations that need more body. For a piece that must wrap tightly, choose a more flexible sheet instead.
Glossy Sticker Paper for Labels
Use adhesive paper for water bottle labels, juice pouches, and favor box seals when you want a peel-and-stick option instead of applying tape separately. If a label will go on a chilled container, test it on the actual surface and see how it holds as condensation forms. Choose non-adhesive paper for full wrappers or designs you plan to attach another way.
For a coordinated favor set, browse party printable and craft supplies and choose materials based on how each piece will be used. You can also find paper craft ideas for simple party favors when you want to try a different project format.
5 Pro Tips for Printing on Glossy Paper Without Smearing
Freshly printed party favors can look perfect, then pick up a fingerprint or smudge during assembly. Glossy Photo Paper needs a compatible printer setting and careful handling while the ink dries. Use these five tips to help keep your designs crisp from print to fold.
- Choose the matching paper type. In the print dialog, select “Glossy Photo Paper” or the closest glossy media option. A “Plain Paper” setting may not suit the coated surface. Check the paper instructions and printer options to choose a setting designed for that media.
- Set print quality to High or Best. These options can produce detailed results, but printing and drying may take longer. For a large batch, run one test sheet first. Check its color and drying time before printing the rest.
- Give prints time to dry. Allow at least 5–10 minutes before handling or folding, and wait longer if the ink still feels tacky or your workspace is humid. Don’t stack fresh sheets. Leave space between them so printed surfaces don’t touch.
- Hold sheets by the edges. Finger oils can leave marks on a glossy coating. Set up a clear, flat drying area and move each sheet by its blank edges rather than touching the design.
- Use the appropriate feed path. If your printer supports a rear tray or manual feed, that path may help thicker sheets travel more directly. Check your printer’s instructions for supported paper types and loading directions to reduce the risk of curling or jams.
Manage Ink and Printer Settings
Look for paper type and quality controls in the print window under “Preferences,” “Properties,” or “Advanced Settings.” The wording varies by printer and computer. Ink and coating compatibility matters, too. Some printers use different ink formulations for black and color, and third-party inks may behave differently from the ink recommended by the printer manufacturer. If smears persist, confirm that the paper is made for your printer type, try the photo-paper setting, and print a small test before changing several settings at once.
Make Drying Easier During Batch Printing
For a stack of wrappers, reserve a clean counter or table as a drying station. Lay sheets flat in a single layer, away from hands, pets, and splashes. Humid air can slow drying, so allow extra time rather than rushing to fold the prints. Check a test print before handling the rest. If ink transfers or feels tacky, let the batch dry longer.
Simplifying Your Creative Process with HWTK Supplies
Make your design and materials work as a team. Hanging with the Kiddos brings editable party templates, printing supplies, and practical resources together to support DIY celebrations. Before printing a full set, match the template to the paper’s purpose and make one sample. This gives you a chance to check the fit and assembly before using more supplies.
If you’re new to printable favors, start with a simple project and gather only the materials it needs. Pair a Canva template with paper suited to the favor, then check that the finished piece fits and assembles as expected. Hanging with the Kiddos tutorials and guides can help you work through the design, printing, and assembly process.
Choose Supplies for the Project
Different projects call for different materials. A wrapper needs to bend, a tag may need more structure, and a label needs an adhesive backing. Browse glossy paper, glossy cardstock, and sticker paper with those uses in mind. Printing a sample first can help you spot a mismatch before you print a larger batch.
Grow from Party Projects to a Creative Business
A coordinated set of favors can also become a useful portfolio project. Photograph your finished pieces in clear, even light, then note which formats you can reproduce consistently. Those images can help you present your work in an online shop, though polished materials and photos don’t guarantee sales. Start with one party theme, refine your process, and build your product range at a pace that works for you.
The Party Printable Studio is a subscription with a growing library of editable templates, tutorials, and related resources. It also provides business education for creative entrepreneurs developing a DIY party venture.
Make Your Next Party Printable a Confident First Step
Your next project doesn’t have to stop at one celebration. Create a small, coordinated set of favors, then notice which designs and formats you’d enjoy making again. That experiment can help you build a creative routine or explore a party favor business.
Choose Glossy Photo Paper and supplies suited to your project, then leave room to test, adjust, and build confidence as you go. HWTK offers premium glossy paper, cardstock, sticker paper, and editable party templates for DIY projects. If you’re developing a creative business, The Party Printable Studio provides ongoing access to templates, tutorials, and related resources.
Start with one design, make it your own, and see how the right paper and a careful test print bring your celebration together.
Frequently Asked Questions
Can I use glossy photo paper in a laser printer?
Use it in a laser printer only if the paper packaging says it’s laser-compatible. Laser printers use heat to bond toner, and paper made for inkjet printers may not be designed for that process. Don’t rely on the sheet fitting the tray as proof that it’s suitable. Check your printer manual and the paper label before printing, and stop if the printer displays a media-compatibility warning.
How do I prevent my glossy paper from curling after printing?
Once a print is completely dry, place it between clean, smooth sheets and set it under a flat, lightweight object until it lies flatter. Avoid pressing on fresh ink or trying to straighten a damp sheet, which can mark the design. If curling keeps happening, check that the paper is stored flat and that the printer isn’t exposing it to excess heat during a print job.
What is the best gsm for making custom chip bags?
There isn’t one weight that suits every printer and design, so choose a flexible paper that your printer supports and that holds up to the bag’s folds. Check the printer’s specifications for compatible media, then compare a finished sample with the filled favor. Look for clean seams and a bag that keeps its shape without the wrapper feeling stiff. This helps you judge the result beyond the number alone.
Why does my printer keep jamming when I use glossy cardstock?
Glossy cardstock can jam if it exceeds your printer’s supported thickness or if several sheets feed together. Check the manual for approved media and loading directions, and avoid forcing a stuck sheet out. If jams continue with stock the printer supports, inspect the paper path for scraps or debris and follow the manufacturer’s instructions for cleaning or servicing the feed rollers.
How can I stop the ink from smearing on my glossy party favors?
First identify whether the mark is wet ink or a repeated printer artifact. If a fresh print smears only where you touch it, leave the next sheet untouched longer before assembly. If the same streak or smudge appears in the same spot on several prints, check for a nozzle or printer maintenance issue and follow the manufacturer’s cleaning guidance. Keep a test print until you’ve confirmed the cause.
Do I need a special printer to use glossy photo paper at home?
You don’t necessarily need a special printer, but the printer must support the paper’s type and size. Check the device manual and paper packaging for compatibility before buying supplies. For example, a home inkjet may accept glossy photo media but still have limits on sheet thickness or printable dimensions. If the printer offers a media list in its settings, use it to confirm the paper option is supported.

Article by
Latoya
Latoya is the founder of Hanging with the Kiddos, where she helps DIY creators design and print professional-quality party favors at home. Through step-by-step tutorials, editable Canva templates, and the Party & Confetti line of premium printing supplies, she shares practical tips that make creating personalized celebrations easier and more enjoyable. Her mission is simple: help families, creators, and small business owners Celebrate • Create • Grow.
Disclaimer
“This post may contain affiliate links, which means if you choose to make a purchase, I may earn a small commission from purchases made at no extra cost to you. Your support is invaluable in helping me continue providing free content on this site & I really appreciate It!”