

The ‘No-Clutter’ Philosophy: Why Parent-Approved Favors Matter
Let’s be honest: how many times has your child come home from a birthday party with a bag full of plastic trinkets that end up lost, broken, or swept into the trash by the end of the week? At Hanging with the Kiddos, we’ve helped thousands of families plan celebrations, and one thing we’ve learned is that most parents are tired of the clutter.
This is where the “parent-approved” party favor comes in. It’s not about spending more money; it’s about being more intentional. A parent-approved favor is an item that is either consumable, creative, or functional. Instead of adding to the toy-box chaos, it provides a delicious snack, a fun activity, or a genuinely useful item that kids and parents can appreciate.
Choosing a thoughtful favor is the final, wonderful touch to your party. It’s a warm “thank you” that reinforces your theme and leaves a lasting positive impression, long after the balloons have deflated. In essence, it’s about practicing intentional gifting—choosing items that add value, not just volume, to a child’s life.
The Rise of the Useful Party Favor
The shift away from plastic whistles and sticky hands isn’t just about reducing waste; it’s about creating more meaningful connections. Parents today are looking for quality over quantity. A single, personalized favor feels more special and thoughtful than a bag of generic, mass-produced toys.
Here’s what consistently works best: focus your budget on a single, high-impact item rather than five small, forgettable ones. A custom-wrapped chocolate bar or a small DIY craft kit offers a memorable experience that a plastic spider ring simply can’t match. It shows you put thought into your guests’ experience from start to finish.
Setting Your ‘Appreciation’ Criteria
So, how do you know if a favor will pass the parent-appreciation test? Before you buy, run your ideas through this simple 3-point check:
- Is it consumable? Can it be eaten, used up, or enjoyed in the moment? Think custom snacks, bubbles, or sidewalk chalk.
- Is it educational or creative? Does it spark imagination or offer a fun activity? Think mini coloring books, seed packets, or playdough kits.
- Is it durable and functional? Is it a high-quality item that can be used again and again? Think personalized water bottles, keychains, or hair accessories.
Equally important is avoiding common parent pet peeves: anything that’s excessively loud, messy (we’re looking at you, glitter!), or loaded with sugar. The goal is to send kids home happy without creating a headache for their parents. The easiest way to elevate a simple, parent-approved item is with professional-looking personalization. Our editable party templates make it easy to add a polished, thematic touch to almost any favor you can imagine.
5 Categories of Party Favors Parents Actually Appreciate
Ready for some inspiration? We’ve organized our favorite clutter-free ideas into five categories that are guaranteed to get a nod of approval from other parents. Each of these can be easily customized to fit any party theme, making your celebration feel cohesive and thoughtfully planned.
- Consumable Treats: Think beyond a handful of candy. We’re talking about personalized snacks that double as decor, like custom chip bags, popcorn boxes, or juice pouches.
- Functional Items: Practical gifts get used, not tossed. Consider personalized water bottles, fun-shaped keychains, high-quality hair accessories, or small flashlights for sleepovers.
- Educational Gifts: Favors that teach something are a huge win. Seed packets for “growing memories,” themed coloring books with crayons, or a small, age-appropriate paperback book are fantastic options.
- The ‘Experience’ Favor: While less common, a voucher for a local experience (like a free scoop of ice cream or a pass to an open-play session) is a truly clutter-free and memorable gift. For families looking to create even bigger memories during a special milestone trip, Kiddi’s Travel offers private guided tours in Iceland that embody this same spirit of intentional, experience-focused gifting.
Customized Consumables: The Gold Standard
Of all the favor categories, customized consumables are a consistent favorite for both kids and parents. Why? They are a guaranteed hit with children (who doesn’t love a snack?) and parents love them because they don’t take up permanent residence in their home. Custom chip bags, candy bar wrappers, and juice pouch labels are some of the most popular DIY party favors we see.
Pro-Tip: The secret to making your home-printed snacks look like they came from a boutique party store is using the right paper. One of the biggest mistakes we see is people printing on regular copy paper, which results in dull colors and a flimsy feel. For vibrant, store-bought quality, you need a high-quality paper. Our customers often tell us that switching to Party & Confetti Premium Glossy Paper was a complete game-changer for their DIY projects. It’s specifically designed to make colors pop and give your favors a professional finish.
Creativity in a Bag: Favors That Keep Kids Busy
A party favor that provides a quiet, engaging activity for the car ride home is a gift to parents everywhere. Assembling “Mini Artist Kits” is a simple and impactful way to do this. You can include a few crayons or colored pencils, a sheet of themed stickers, and a personalized coloring page that matches your party decor.
To assemble these kits, use small cellophane bags and tie them with a custom gift tag. For the tags and coloring sheets, a sturdy cardstock will prevent them from getting crumpled. This small touch of quality makes the entire package feel more substantial and thoughtfully prepared.
DIY Mastery: Elevating Simple Favors with Printables
You have a great idea for a favor, but how do you make it look amazing without hiring a graphic designer? This is where editable Canva templates become your secret weapon. They bridge the gap between a simple “homemade” craft and a professional, “Pinterest-worthy” creation.
Think about the “unboxing experience.” Even a simple chocolate bar feels like a luxury gift when it’s wrapped in a beautifully designed, personalized wrapper. The packaging changes the entire perception of the item. With our templates, you can easily drag and drop photos, change text, and customize colors in Canva to perfectly match your theme. From a digital download to a physical favor in your hand, the process is straightforward and incredibly rewarding.
Choosing the Right Paper for the Job
We can’t stress this enough: your paper choice is the single most important factor in achieving a professional DIY result. Printing a gorgeous design on the wrong paper can lead to smeared ink, dull colors, and a flimsy final product that screams “I did this at home.”
Here’s a quick guide to help you choose:
- Glossy Paper: Use this for items like chip bags and candy bar wrappers. The glossy finish makes colors vibrant and gives a smooth, high-end feel.
- Glossy Sticker Paper: Perfect for juice pouch and water bottle labels. Our Party & Confetti Glossy Sticker Paper is water-resistant, which means your labels won’t smudge or peel if they get damp in a cooler.
- Cardstock: Ideal for favor tags, cupcake toppers, and gable box labels. It provides the sturdiness needed for items that need to hold their shape.
To learn more about how different paper types can transform your projects, check out our Ultimate Guide to Glossy Photo Paper for in-depth tips and printing advice.
The 15-Minute Personalization Workflow
Think personalizing favors for 20 kids will take all day? Think again. With a smart workflow, you can get it done in minutes. Our templates are designed for efficiency. In Canva, you can perfect one design and then simply duplicate the page for each guest, changing only the name. This batch-editing process saves hours of tedious work.
Here are the essential tools for a clean, professional assembly line:
- A reliable color printer
- The right paper for your project
- A paper trimmer or scissors for straight, clean cuts
- Double-sided tape or a hot glue gun for seamless assembly
Time-Saving Tip: Never, ever wait until the morning of the party to print and assemble your favors. Schedule your printing for a few days beforehand to give yourself a relaxed, stress-free buffer for assembly.

The Stress-Free Favor Strategy: Planning and Assembly
A great party favor starts with a great plan. To avoid last-minute chaos, create a simple timeline. We recommend ordering your supplies at least two weeks before the party, printing everything one week out, and assembling your favors two to three days before the event. This pacing keeps the process fun and manageable.
Turn assembly into a fun activity! Set up an “assembly line” on your dining table with all your supplies. If your kids are old enough, let them help with simple tasks like stuffing bags or adding stickers. Once assembled, store the finished favors in a sturdy box or bin in a cool, dry place to keep them safe until the big day.
Budgeting for Impact
DIY party favors aren’t just more personal—they’re often more budget-friendly. When you compare the cost of a pre-made, personalized favor (which can run $5-$10 per child) to a DIY version, the savings are significant. A template is a one-time purchase that you can reuse for future events, and printing at home gives you complete control over the cost per item.
For those just starting their DIY journey, the most cost-effective way to begin is with a curated bundle. Our Party Favor Printing Starter Kit includes a mix of our best-selling papers, so you can experiment and find what works best for your projects without committing to a full pack of each type.
Presentation and Display
Don’t hide your beautiful creations! Your party favors can double as party decor. Arrange them artfully on a dedicated “Favor Station” table near the exit. Use cake stands, baskets, or tiered trays to add height and visual interest. A simple sign—like “Thank You For Celebrating With Us! Please Take One.”—clearly guides guests and adds a final, polished touch.
Adding a small, personalized favor tag with a thank you note is a simple gesture that goes a long way. It’s the perfect final step to show your guests how much you appreciate them celebrating with you.
Frequently Asked Questions (FAQs)
What is the most appreciated party favor for parents?
The most appreciated party favors for parents are items that are consumable, creative, or functional. Consumable favors, like custom-wrapped snacks, are a top choice because they are enjoyed by the child and don’t create long-term clutter. Creative kits that offer a simple activity, like a small playdough set or coloring pages, are also highly valued.
How much should I realistically spend on party favors per child?
There’s no magic number, but a typical budget is between $3 and $7 per child. However, it’s more important to focus on the value and thoughtfulness of the favor than the price tag. Using DIY printable templates allows you to create high-impact, personalized favors for a fraction of the cost of pre-made items, stretching your budget further.
Are non-candy party favors better than traditional treats?
Not necessarily, but it’s a good idea to offer a mix or be mindful of dietary restrictions. While candy is a classic, many parents appreciate non-candy options to manage sugar intake. Customized snacks like Goldfish crackers, fruit snacks, or popcorn are great alternatives. The key is personalization—a custom-wrapped treat of any kind feels more special than loose candy in a bag.
How do I make my DIY party favors look professional and not ‘cheap’?
The three keys to professional-looking DIY favors are: 1) a high-quality design from an editable template, 2) printing on the correct premium paper (like glossy paper for chip bags or sticker paper for labels), and 3) careful assembly with clean cuts and seamless adhesion. These three elements work together to elevate your project from “homemade” to “handmade.”
Article by
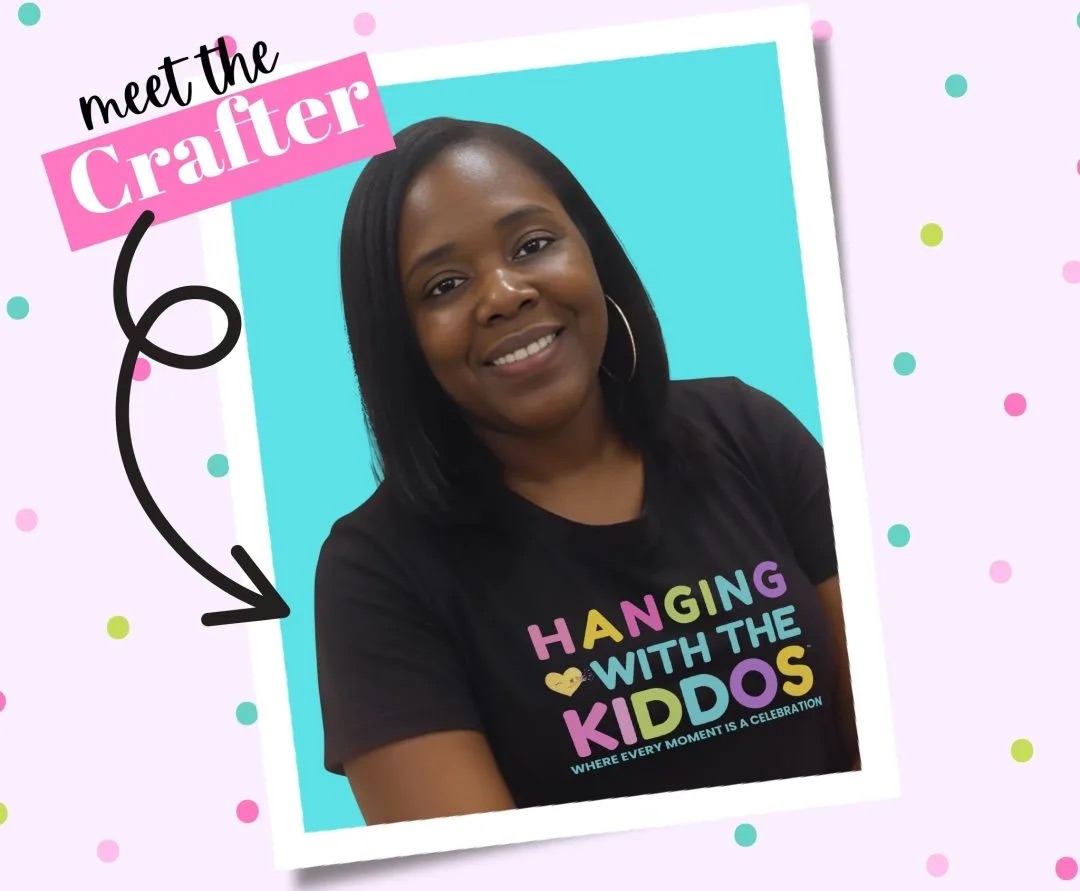
Latoya
Latoya is the founder of Hanging with the Kiddos, where she helps DIY creators design and print professional-quality party favors at home. Through step-by-step tutorials, editable Canva templates, and the Party & Confetti line of premium printing supplies, she shares practical tips that make creating personalized celebrations easier and more enjoyable. Her mission is simple: help families, creators, and small business owners Celebrate • Create • Grow.
Disclaimer
“This post may contain affiliate links, which means if you choose to make a purchase, I may earn a small commission from purchases made at no extra cost to you. Your support is invaluable in helping me continue providing free content on this site & I really appreciate It!”


