

Hey everyone! Over the years at Hanging with the Kiddos, I’ve designed, printed, and assembled literally thousands of printable party favors. From custom chip bags and candy bar wrappers to intricate cake toppers and mini cereal boxes, my studio has seen it all. The number one question I get is always, “How do you make your DIY party favors look so clean and professional?”
The secret isn’t some hidden talent or a complicated design trick. It’s about having the right tools for assembling party decorations. A great design is only half the battle; the assembly is what brings it to life and gives it that “store-bought” quality.
Forget the frustration of smeared ink, wrinkled paper, and crooked cuts. I’m pulling back the curtain and sharing the exact list of printers, paper, and party favor tools I use every single day. This is the definitive guide to building a toolkit that will save you time, reduce waste, and help you create stunning, professional-quality favors for any celebration.
Table of Contents
Best Printers for Party Favors
Before you can cut or assemble anything, you need a high-quality print. Your printer is one of the most important party favor tools in your collection. After testing dozens of models, I’ve found that you don’t need a commercial machine to get incredible results. Here are my top recommendations for home crafters.

Epson EcoTank (My Top Recommendation)
This is the workhorse of my studio. The Epson EcoTank series is a game-changer for anyone serious about party favor printing. Instead of expensive cartridges, it uses large, refillable ink tanks. The ink lasts forever, making the cost per print incredibly low. The print quality is sharp, vibrant, and perfect for the glossy papers we use.
- Best for: High-volume crafters, small business owners, and anyone who prints frequently.
- Why I love it: It’s an investment upfront, but it saves a massive amount of money on ink in the long run. The reliability and color accuracy are unmatched for home use.
Canon PIXMA Series
If you’re looking for stunning, photo-quality color, the Canon PIXMA line is a fantastic choice. These printers are known for their ability to produce rich, deep blacks and incredibly vibrant colors, which makes party favor designs pop. They are often more affordable upfront than an EcoTank.
- Best for: Crafters who prioritize color vibrancy and print a moderate amount of favors.
- Why I love it: The print quality on glossy paper is truly beautiful. It’s a great mid-range option that delivers professional results.
HP Envy Series
For beginners or hobbyists who need a reliable, budget-friendly, all-in-one machine, the HP Envy series is a great starting point. Many models are compatible with the HP Instant Ink program, which can help manage ink costs if you print sporadically. It’s a solid, no-fuss printer that gets the job done.
- Best for: Beginners, occasional crafters, and those on a tight budget.
- Why I love it: It’s user-friendly and versatile enough for everyday printing needs, not just party crafts.
Pro Tip: No matter which printer you choose, your results are only as good as your settings. Make sure you read our guide on the best printer settings for professional DIY party favors to avoid common mistakes like smearing and dull colors.
| Printer | Beginner | Business | My Rating |
|---|---|---|---|
| HP Envy | ⭐⭐⭐⭐⭐ | ⭐⭐ | Great Starter |
| Canon PIXMA | ⭐⭐⭐⭐ | ⭐⭐⭐⭐ | Excellent Colors |
| Epson EcoTank | ⭐⭐⭐⭐⭐ | ⭐⭐⭐⭐⭐ | Best Overall |
The Best Paper for Printable Party Favors
I cannot stress this enough: the paper you use will make or break your project. After years of struggling with store-bought paper that was too thin, smeared easily, or produced dull colors, I developed my own line of party favor supplies specifically for this craft.

The Party & Confetti Paper Collection is engineered to work perfectly with inkjet printers and our Canva Party Favor Templates.
- Party & Confetti Glossy Paper: This is my go-to for chip bags, candy bar wrappers, and popcorn boxes. It has a beautiful high-gloss finish, it’s the perfect weight to feel substantial without being difficult to fold, and it holds a crimp perfectly.
- Party & Confetti Glossy Cardstock: When you need structure, this is the answer. I use it for cupcake toppers, cake toppers, favor boxes, and gift tags. It’s rigid, prints beautifully, and is ideal for projects that need to stand up on their own.
- Party & Confetti Glossy Vinyl Sticker Paper: Perfect for water bottle labels, juice pouch labels, and custom stickers for favor bags. It’s water-resistant, so you don’t have to worry about the ink running if the bottles get wet in a cooler.
If you’re just starting out, the best value is the Party Favor Printing Starter Kit. It includes a mix of all our paper types so you can try them out and see which ones you love for your projects.
| Paper | Best For |
|---|---|
| Glossy Paper | Chip Bags, Candy Wrappers, Popcorn Bags |
| Glossy Cardstock | Cake Toppers, Cupcake Toppers, Favor Boxes |
| Vinyl Sticker Paper | Water Bottle Labels, Juice Pouches, Stickers |
Cutting Tools I Use Every Day
Clean, precise cuts are the hallmark of a professional-looking party favor. Ditching your kitchen scissors is the first step! Here are the essential paper crafting tools I rely on for perfectly straight edges and intricate shapes.
Paper Trimmers (for Speed and Accuracy)
For straight cuts, nothing beats a paper trimmer. I use two main types:
- Rotary Paper Trimmer: This is my daily driver. It has a small, circular blade that glides along a track. It’s incredibly precise and safe to use, making it perfect for cutting out chip bag templates or stacks of invitations quickly.
- Guillotine Paper Cutter: When I need to cut through multiple sheets of cardstock at once, I reach for the guillotine cutter. Its long, heavy blade provides the leverage needed for bulk cutting.
Precision Craft Knife (X-Acto Knife)
For detailed work like cutting out the center of a design or creating custom cake toppers, a precision knife is non-negotiable. It gives you the control that no other tool can offer. Always use it with a metal ruler for straight lines!
Cutting Mats (to Protect Your Surfaces)
- Self-Healing Cutting Mat: This is a must-have if you’re using a craft knife. It protects your desk from blade marks and helps extend the life of your blades.
- Glassboard Studio Magnetic Craft Mat: This was a huge upgrade for my workspace. It’s a heavy-duty glass mat that’s perfect for cutting, but it’s also magnetic. I use magnets to hold my paper in place, which prevents slipping and ensures perfectly accurate cuts every time. It also doubles as a fantastic surface for photos!


Metal Ruler
A sturdy metal ruler is essential. Plastic rulers can get nicked by a craft knife, ruining your straight edge. A metal ruler provides a safe, reliable guide for your blade and helps you measure with precision.
Cricut Cutting Machine
A Cricut (or other electronic cutting machine) is an amazing tool for creating complex Cricut party favors. I use mine for intricate cake toppers, favor tags with unique shapes, and any design that would be too tedious to cut by hand. While it’s a significant investment and not required for beginners, it opens up a new world of creative possibilities if you decide to scale up.

My Go-To Assembly Tools
Once everything is printed and cut, it’s time to assemble. The right adhesives and finishing tools for making party favors will ensure your creations are durable and look flawless.

- Double-Sided Tape Runner: This is my absolute favorite adhesive and the one I use on over 90% of my projects. It provides a strong, instant bond with zero drying time and no risk of wrinkling or sogging up glossy paper. It’s the key to a clean, flat seal on chip bags and candy wrappers.
- Double-Sided Tape (Rolls): For larger areas or heavier cardstock, I use rolls of double-sided tape. It provides a bit more strength than a tape runner.
- Hot Glue Gun: I use a hot glue gun sparingly, and almost never directly on paper. Its primary role in my studio is for attaching heavier embellishments like bows or securing dowels to the back of cake toppers. A low-temp gun is usually sufficient and safer for delicate items.
- Paper Crimper: Want that authentic, “factory-sealed” look on your chip bags? The paper crimper is the tool that does it. This simple device adds professional-looking serrated edges to the top and bottom of your bags. It’s one of the most important chip bag supplies you can own.
- Bone Folder & Scoring Board: To get crisp, sharp folds on favor boxes, place cards, or greeting cards, a scoring board and bone folder are essential. The scoring board creates a perfect channel, and the bone folder presses it into a professional crease.
- Corner Rounder Punch: This simple tool instantly elevates the look of favor tags, business cards, and invitations. It rounds off sharp corners for a soft, polished, and high-end finish.
- Hole Punch & Long Reach Punch: A standard hole punch is great for gift tags. A long reach punch is a specialty tool that allows you to punch a hole in the center of a project, which is useful for certain unique favor designs.
- Decorative Scissors (Optional): While not essential, scissors with a decorative edge (like a zig-zag or scallop) can add a fun, playful touch to banners or favor bag toppers.
Design Software: The Digital Tools
Your physical toolkit is only as good as your digital one. My entire business is built around two key pieces of software:
- Canva: I design all of our Editable Canva Party Templates in Canva. It’s incredibly user-friendly, powerful, and accessible for beginners. It’s the perfect software for customizing templates and creating your own designs from scratch.
- Cricut Design Space: When I’m using my Cricut, this is the software that communicates with the machine. You can upload designs created in Canva and use Design Space to prepare them for cutting.
Beginner’s Shopping Checklist
Feeling overwhelmed? Don’t be! You don’t need to buy everything at once. If you’re just starting your journey into making printable party favors, here is the absolute essential list to get you started:
- [ ] A reliable Inkjet Printer (like an HP Envy or Canon PIXMA)
- [ ] The Party Favor Printing Starter Kit (to get all the essential paper types)
- [ ] A Rotary Paper Trimmer
- [ ] A Self-Healing Cutting Mat
- [ ] A Metal Ruler
- [ ] A Double-Sided Tape Runner
- [ ] A Paper Crimper (if you plan to make chip bags)
With just these items, you can create a huge variety of professional-quality party favors.

My 10 Most-Used Party Favor Tools
Out of everything in my studio, these are the 10 items I reach for every single day. If you want to build a truly efficient workspace, start here.
- Epson EcoTank Printer: The heart of my operation. It handles all my printing needs without constantly needing new ink.
- Party & Confetti Glossy Paper: The foundation for all my chip bags and wrappers. The quality is simply unmatched.
- Rotary Paper Trimmer: For fast, perfectly straight cuts. It’s a huge time-saver.
- Double-Sided Tape Runner: My go-to adhesive. It’s clean, fast, and foolproof.
- Paper Crimper: The “magic wand” that makes chip bags look 100% professional.
- Glassboard Studio Magnetic Craft Mat: It keeps my projects secure while cutting and protects my workspace.
- Party & Confetti Glossy Cardstock: Essential for any project that needs to be sturdy, like cake toppers and favor tags.
- Bone Folder: I can’t imagine folding a favor box without it. The creases are just so much cleaner.
- Corner Rounder Punch: A small touch that makes a huge difference in the final presentation.
- Canva Pro: My digital command center for designing every single template and printable.
Building a Printable Party Favor Business? Invest in Your Tools.
For those of you who want to turn this passion into a business, let me give you my best piece of advice: invest in quality tools. It may seem tempting to save money with cheaper alternatives, but the right party favor supplies pay for themselves over and over.
Quality tools lead to:
- Increased Productivity: A good paper trimmer is infinitely faster and more accurate than scissors. A tape runner is faster than waiting for glue to dry. Time is money, and these tools save you time.
- More Professional Products: Clean cuts, sharp creases, and professional finishes allow you to charge more for your products and build a reputation for quality.
- Less Waste: Precision tools reduce mistakes, which means you waste less of your expensive paper and ink.
- Reduced Stress: Fumbling with ineffective tools is frustrating. A well-equipped workspace makes the creation process more enjoyable and less of a chore.
If you’re serious about growing, our Party Printable Studio Membership provides in-depth business education and Printable Party Favor Tutorials that show you exactly how to use these tools to create and sell your own products.
You now have the complete roadmap to building a professional party favor toolkit. By investing in the right equipment and materials, you can move beyond frustrating, homemade-looking crafts and start creating decorations that truly wow your guests or customers.
Ready to get started? Explore our collection of Canva Party Favor Templates and stock up on the Party & Confetti Paper that will bring your creations to life. Let’s make something amazing!
Frequently Asked Questions About Party Favor Tools & Supplies
Do I need a Cricut to make printable party favors?
No! A Cricut is a great tool, but it’s not required for most printable party favors. I create the majority of my chip bags, candy wrappers, popcorn bags, mini cereal boxes, and water bottle labels using a paper trimmer, scissors, and a few basic assembly tools. A Cricut is most helpful for projects like cake toppers, cupcake toppers, layered cardstock decorations, custom favor tags, and intricate cut designs.
What is the best printer for printable party favors?
My top recommendation is the Epson EcoTank because it offers excellent print quality and incredibly low ink costs over time. If you’re just getting started, the HP Envy is an affordable beginner-friendly option. If vibrant photo-quality colors are your priority, the Canon PIXMA is another excellent choice.
What paper do you recommend for chip bags?
For chip bags, I recommend using Party & Confetti Glossy Paper. It produces bright, vibrant colors, folds easily without cracking, and creates a professional finish that looks much closer to commercially printed packaging than standard copy paper.
What’s the difference between glossy paper, cardstock, and sticker paper?
Each paper is designed for a different type of project.
- Glossy Paper is ideal for chip bags, candy wrappers, popcorn bags, and other printable wrappers.
- Glossy Cardstock is thicker and perfect for cake toppers, cupcake toppers, favor boxes, gift tags, and other sturdy projects.
- Glossy Vinyl Sticker Paper is designed for water bottle labels, juice pouch labels, stickers, and other peel-and-stick decorations.
Using the correct paper makes your finished party favors look more professional and helps them last longer.
What’s the best adhesive for assembling party favors?
My favorite adhesive is a double-sided tape runner. It’s fast, clean, and creates a strong bond without causing glossy paper to wrinkle like liquid glue can. For heavier cardstock projects, I also use double-sided tape rolls, and I save my hot glue gun for attaching bows, ribbon, or cake topper sticks.
What tools should I buy first if I’m a beginner?
If you’re just getting started, you don’t need every tool right away. I recommend starting with:
- A reliable inkjet printer
- Glossy paper
- Rotary paper trimmer
- Metal ruler
- Self-healing cutting mat
- Double-sided tape runner
These basic supplies will allow you to create most printable party favors before investing in specialty tools like a Cricut or paper crimper.
Is a paper crimper really necessary?
If you plan to make custom chip bags, absolutely! A paper crimper gives the top and bottom edges that classic ridged, factory-sealed look found on real snack bags. While it’s optional for most paper crafts, it’s one of my favorite tools for making chip bags look polished and professional.
Can I use a regular home printer?
Yes! Most printable party favors can be created with a standard inkjet printer. The key is using quality paper, selecting the correct printer settings, and allowing your prints to dry completely before assembling your projects.
Where can I learn how to make printable party favors?
If you’re new to printable party favors, I offer several resources to help you get started.
You can explore my:
- Editable Canva Party Favor Templates
- Party Printable Studio Membership
- Free step-by-step tutorials
- YouTube videos
- Party & Confetti Paper Collection
These resources will walk you through everything from printing and assembling party favors to creating beautiful, professional-looking projects at home.
Can I start a party favor business with these tools?
Absolutely! Many successful party favor businesses start with a home printer, a paper trimmer, and a few essential supplies. As your business grows, you can gradually invest in tools like an Epson EcoTank printer, a Cricut cutting machine, and specialty assembly tools to increase productivity and create even more professional products.
The most important investment isn’t buying every tool at once—it’s learning how to use the right tools effectively. With quality supplies, consistent practice, and the right templates, you can create party favors that your customers will love.
Article by
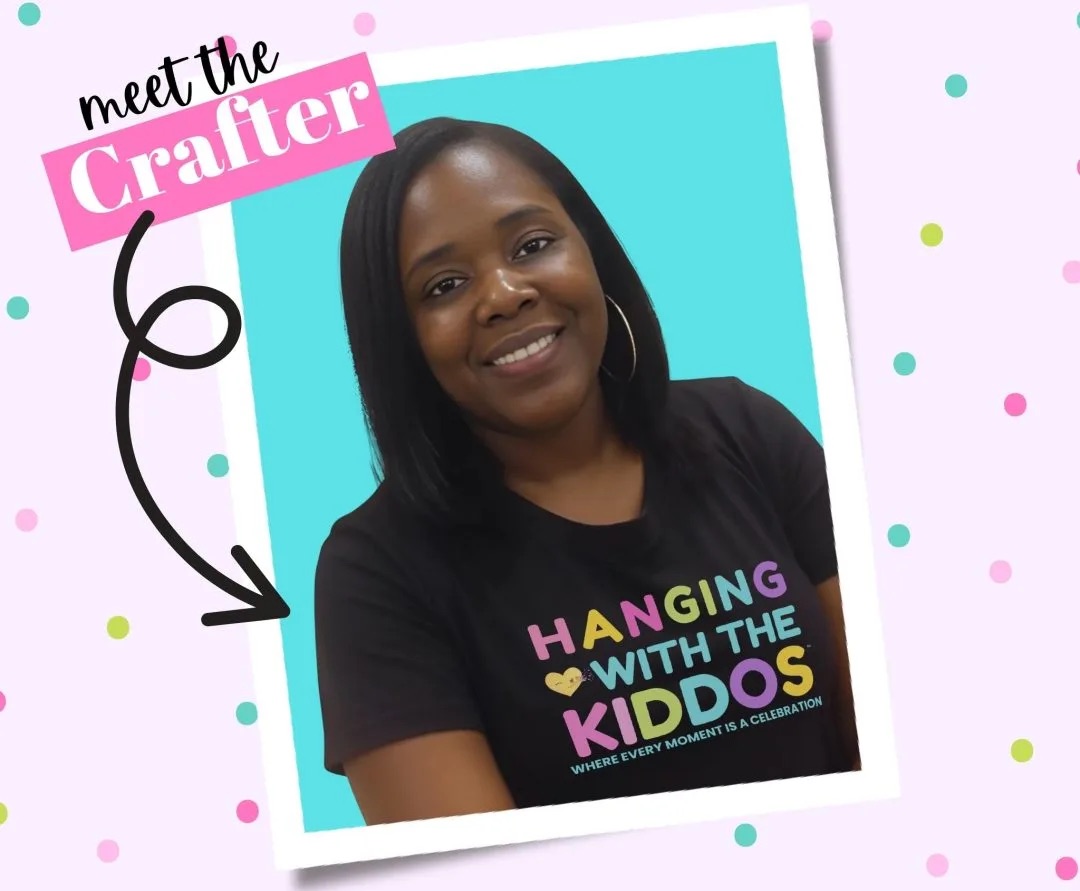
Latoya
Latoya is the founder of Hanging with the Kiddos, where she helps DIY creators design and print professional-quality party favors at home. Through step-by-step tutorials, editable Canva templates, and the Party & Confetti line of premium printing supplies, she shares practical tips that make creating personalized celebrations easier and more enjoyable. Her mission is simple: help families, creators, and small business owners Celebrate • Create • Grow.
Disclaimer
“This post may contain affiliate links, which means if you choose to make a purchase, I may earn a small commission from purchases made at no extra cost to you. Your support is invaluable in helping me continue providing free content on this site & I really appreciate It!”
Similar Posts
Best Printer Settings for Professional DIY Party Favors
Have you ever spent hours designing the perfect party favors in Canva, only to have your home printer produce something dull, smeared, or blurry?…
DIY Party Decoration Assembly Guide for Beginners (Step-by-Step)
Planning a party should be exciting—not stressful. But if you’ve ever found yourself surrounded by half-assembled chip bags, unfinished party favors,…
Shopify for Digital Party Printables: 2026 Growth Guide
Hey there, fellow creator! If you’re here, you’re probably wondering if there’s a better way to sell your beautiful digital party printables. Maybe…
The Ultimate Guide to Editable Party Templates for Professional DIY Results in 2026
Ever dreamed of throwing a party that looks like it jumped right off a Pinterest board, but without the custom-designer price tag? You’re in the…
How to Choose the Right Font for a Party Theme: The Ultimate DIY Guide
Have you ever spent hours scrolling through Canva trying to find the perfect font for a birthday invitation, chip bag, or party favor, only to end up…
Party Favors That Parents Will Actually Appreciate: A Clutter-Free Guide
Table of Contents
The 'No-Clutter' Philosophy: Why Parent-Approved Favors Matter
5 Categories of Party Favors Parents Actually…


